
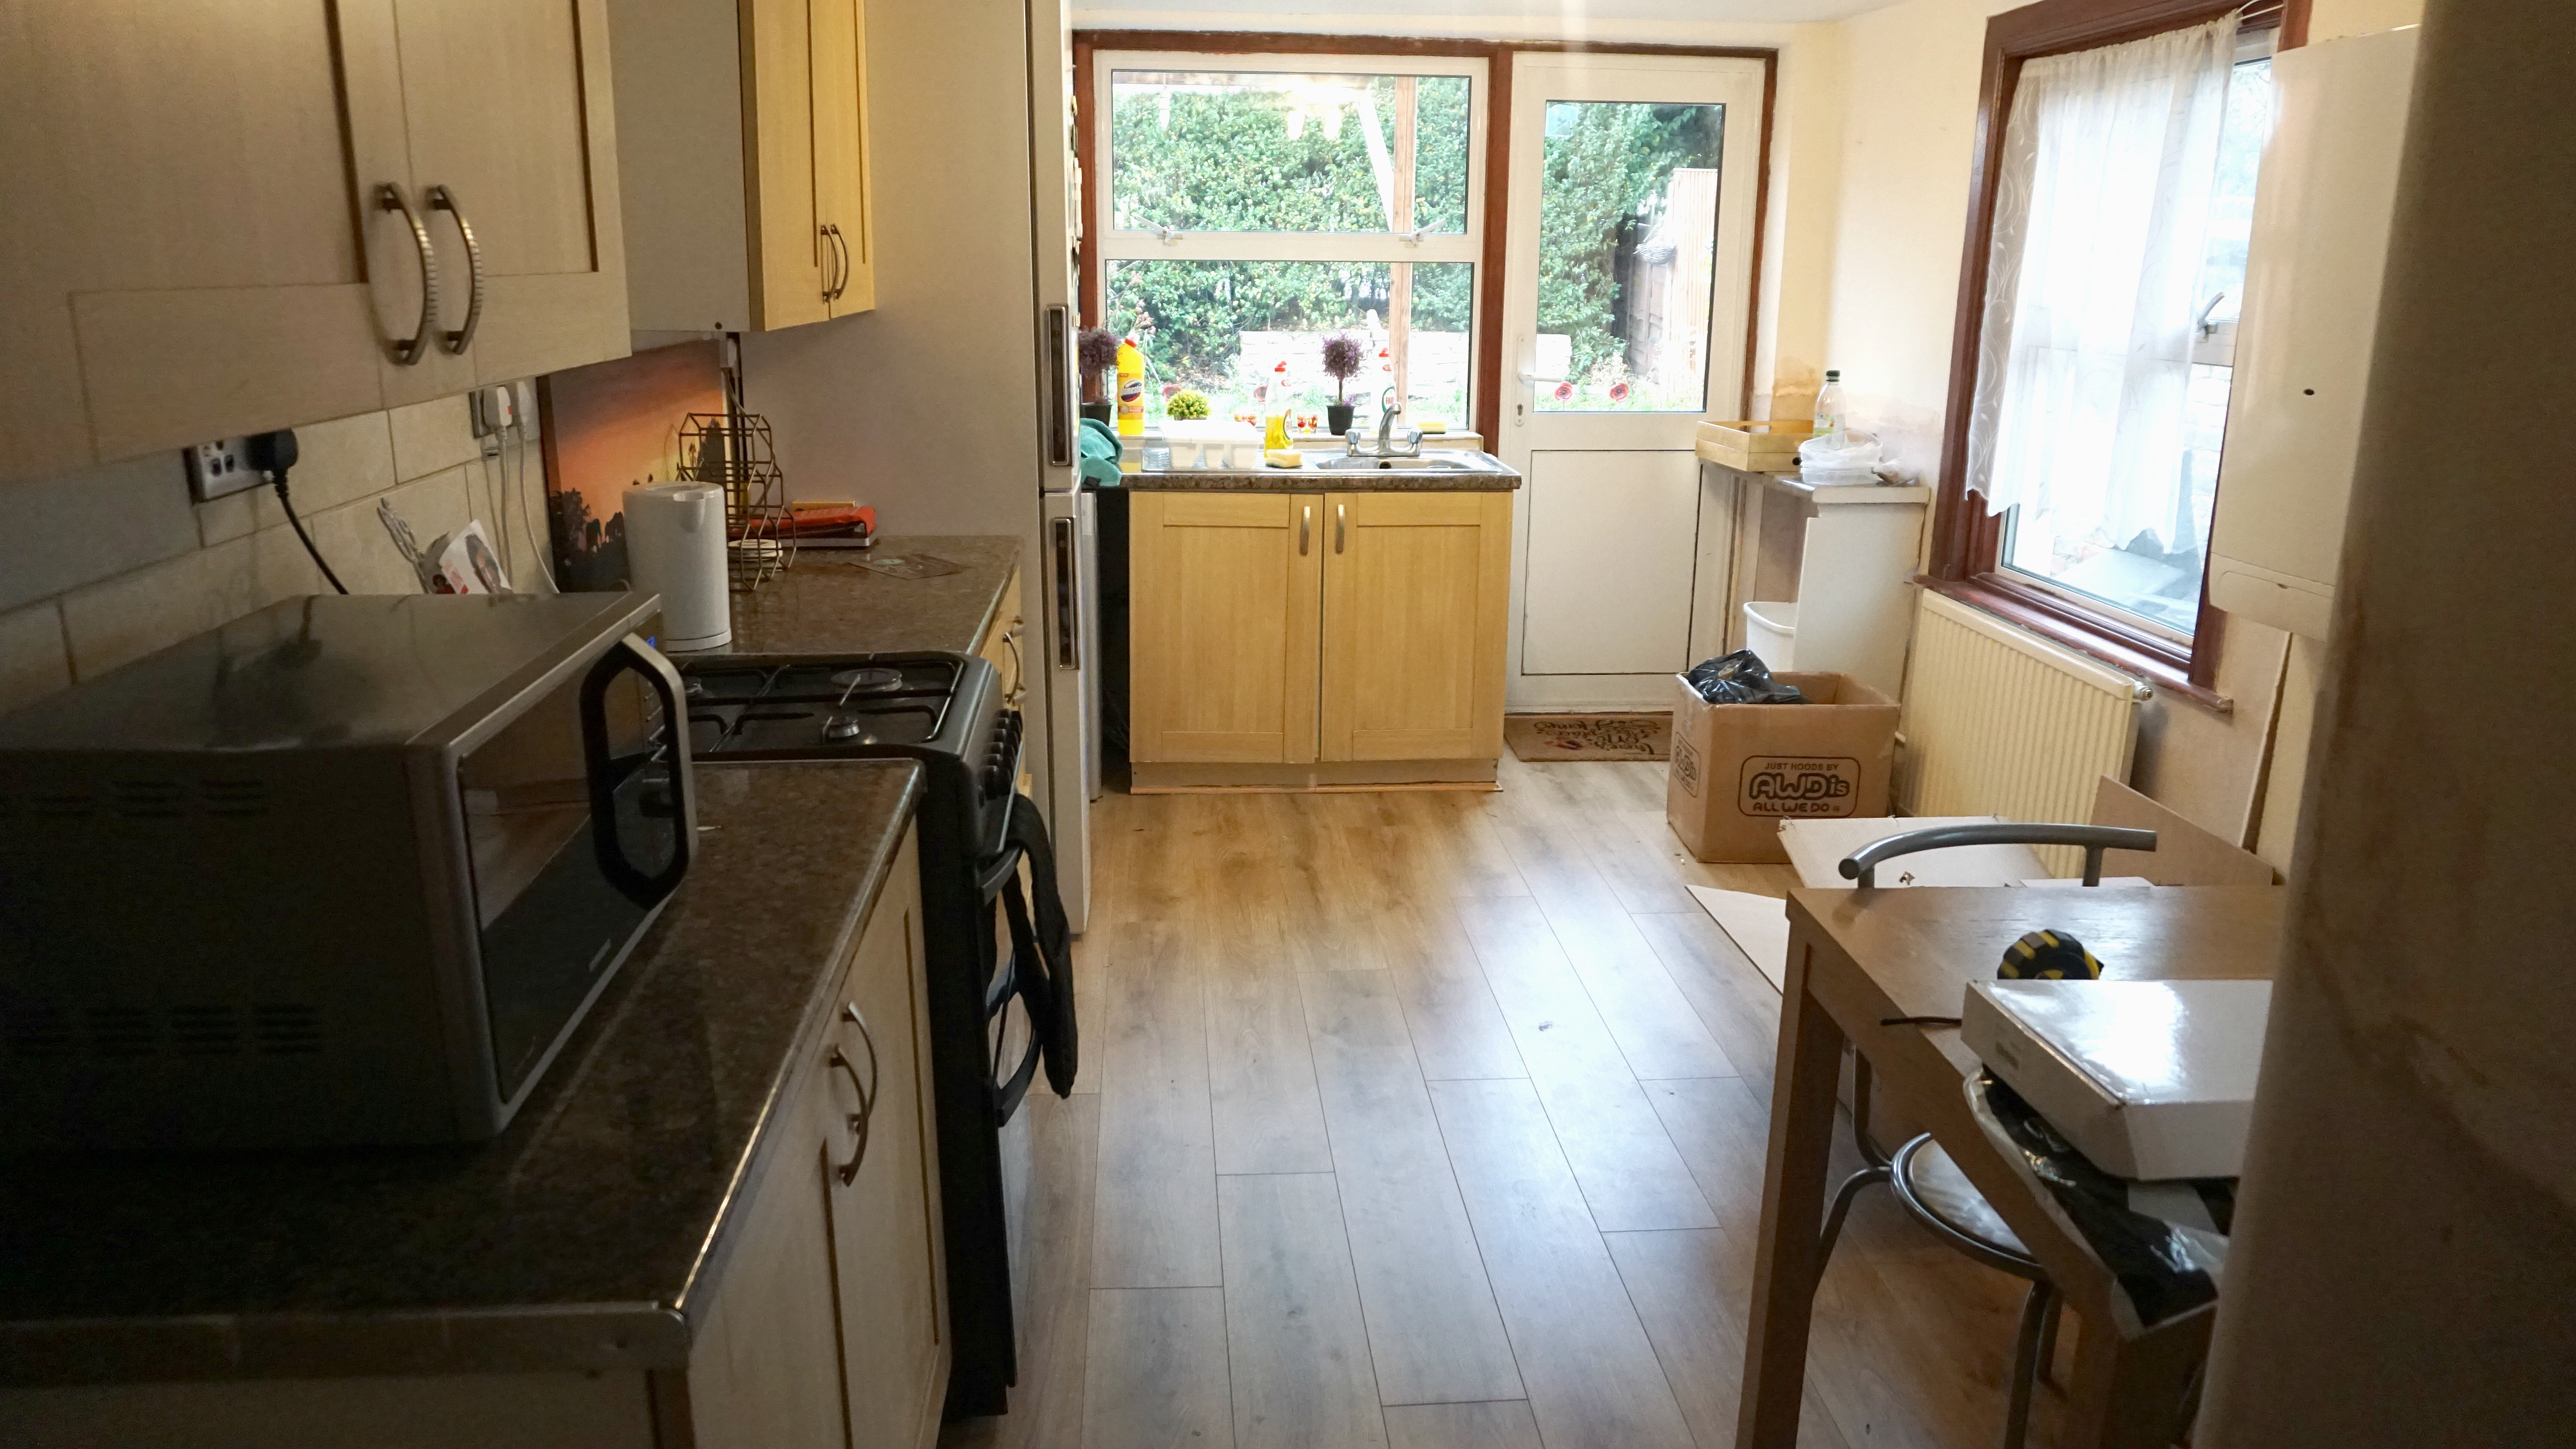
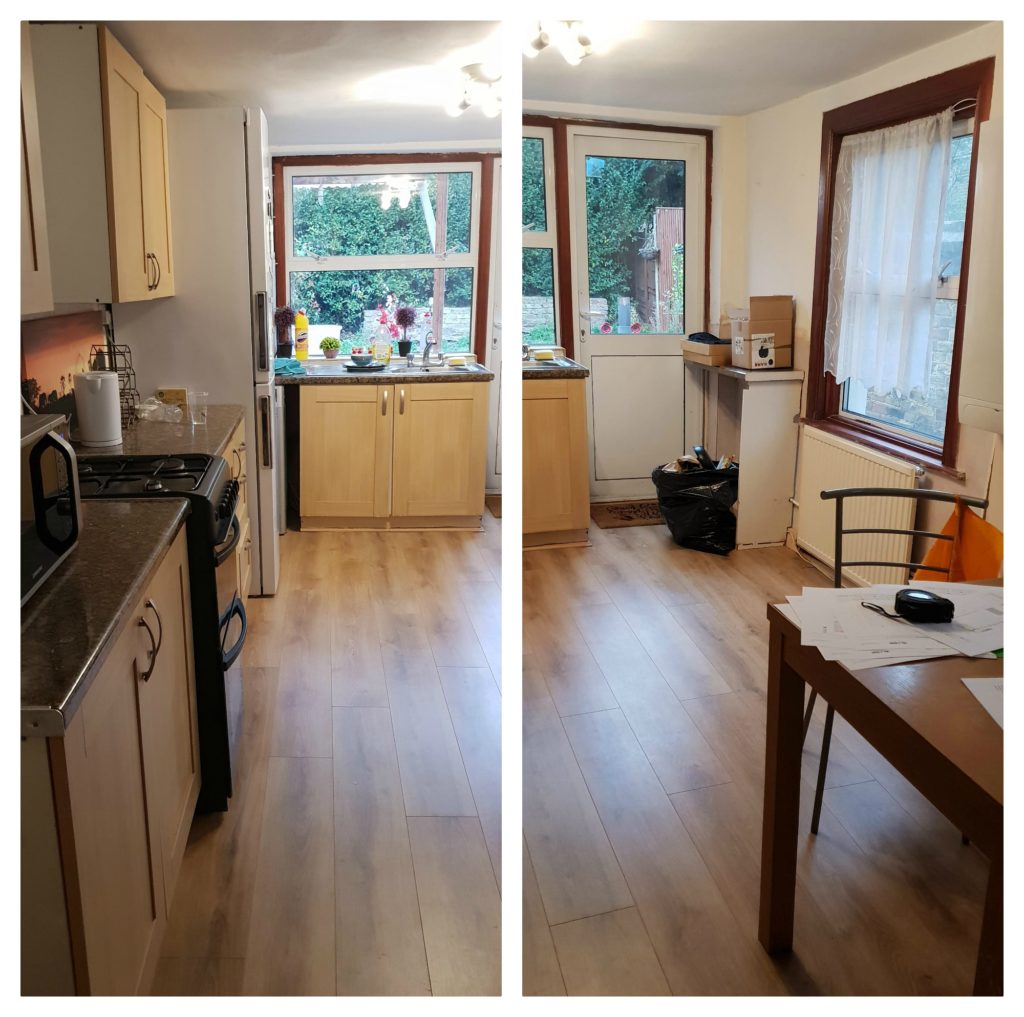
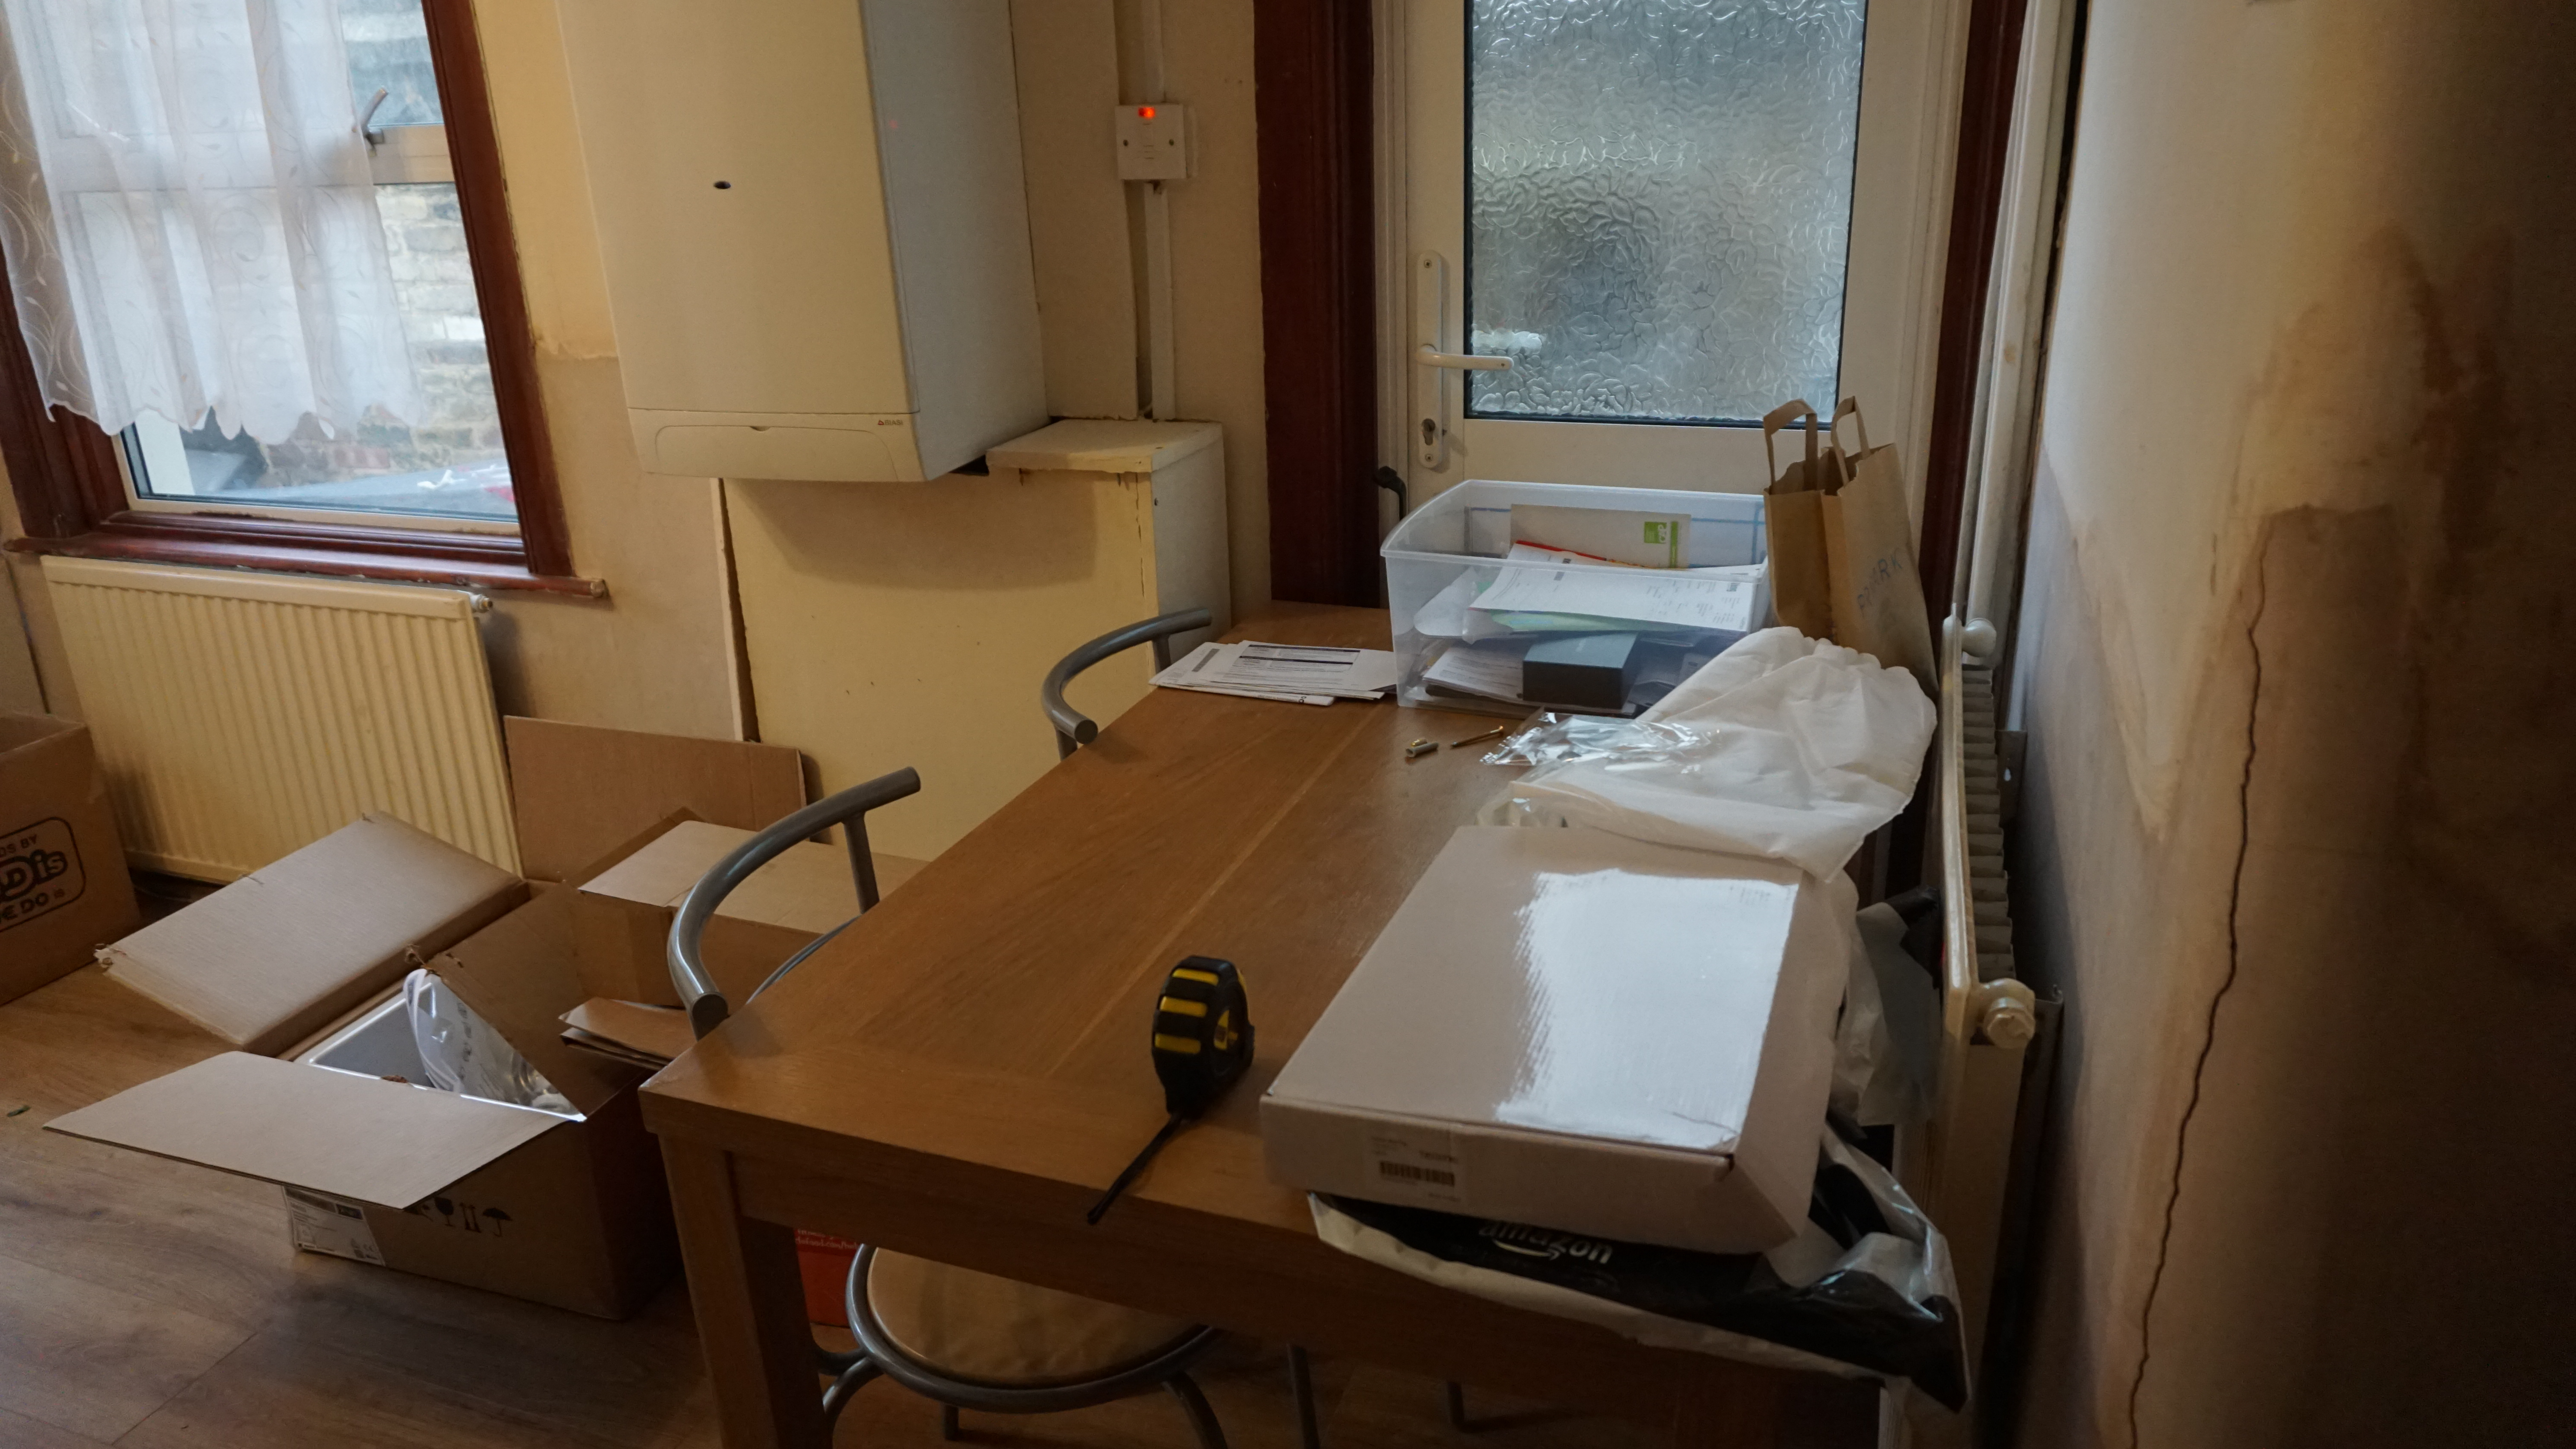
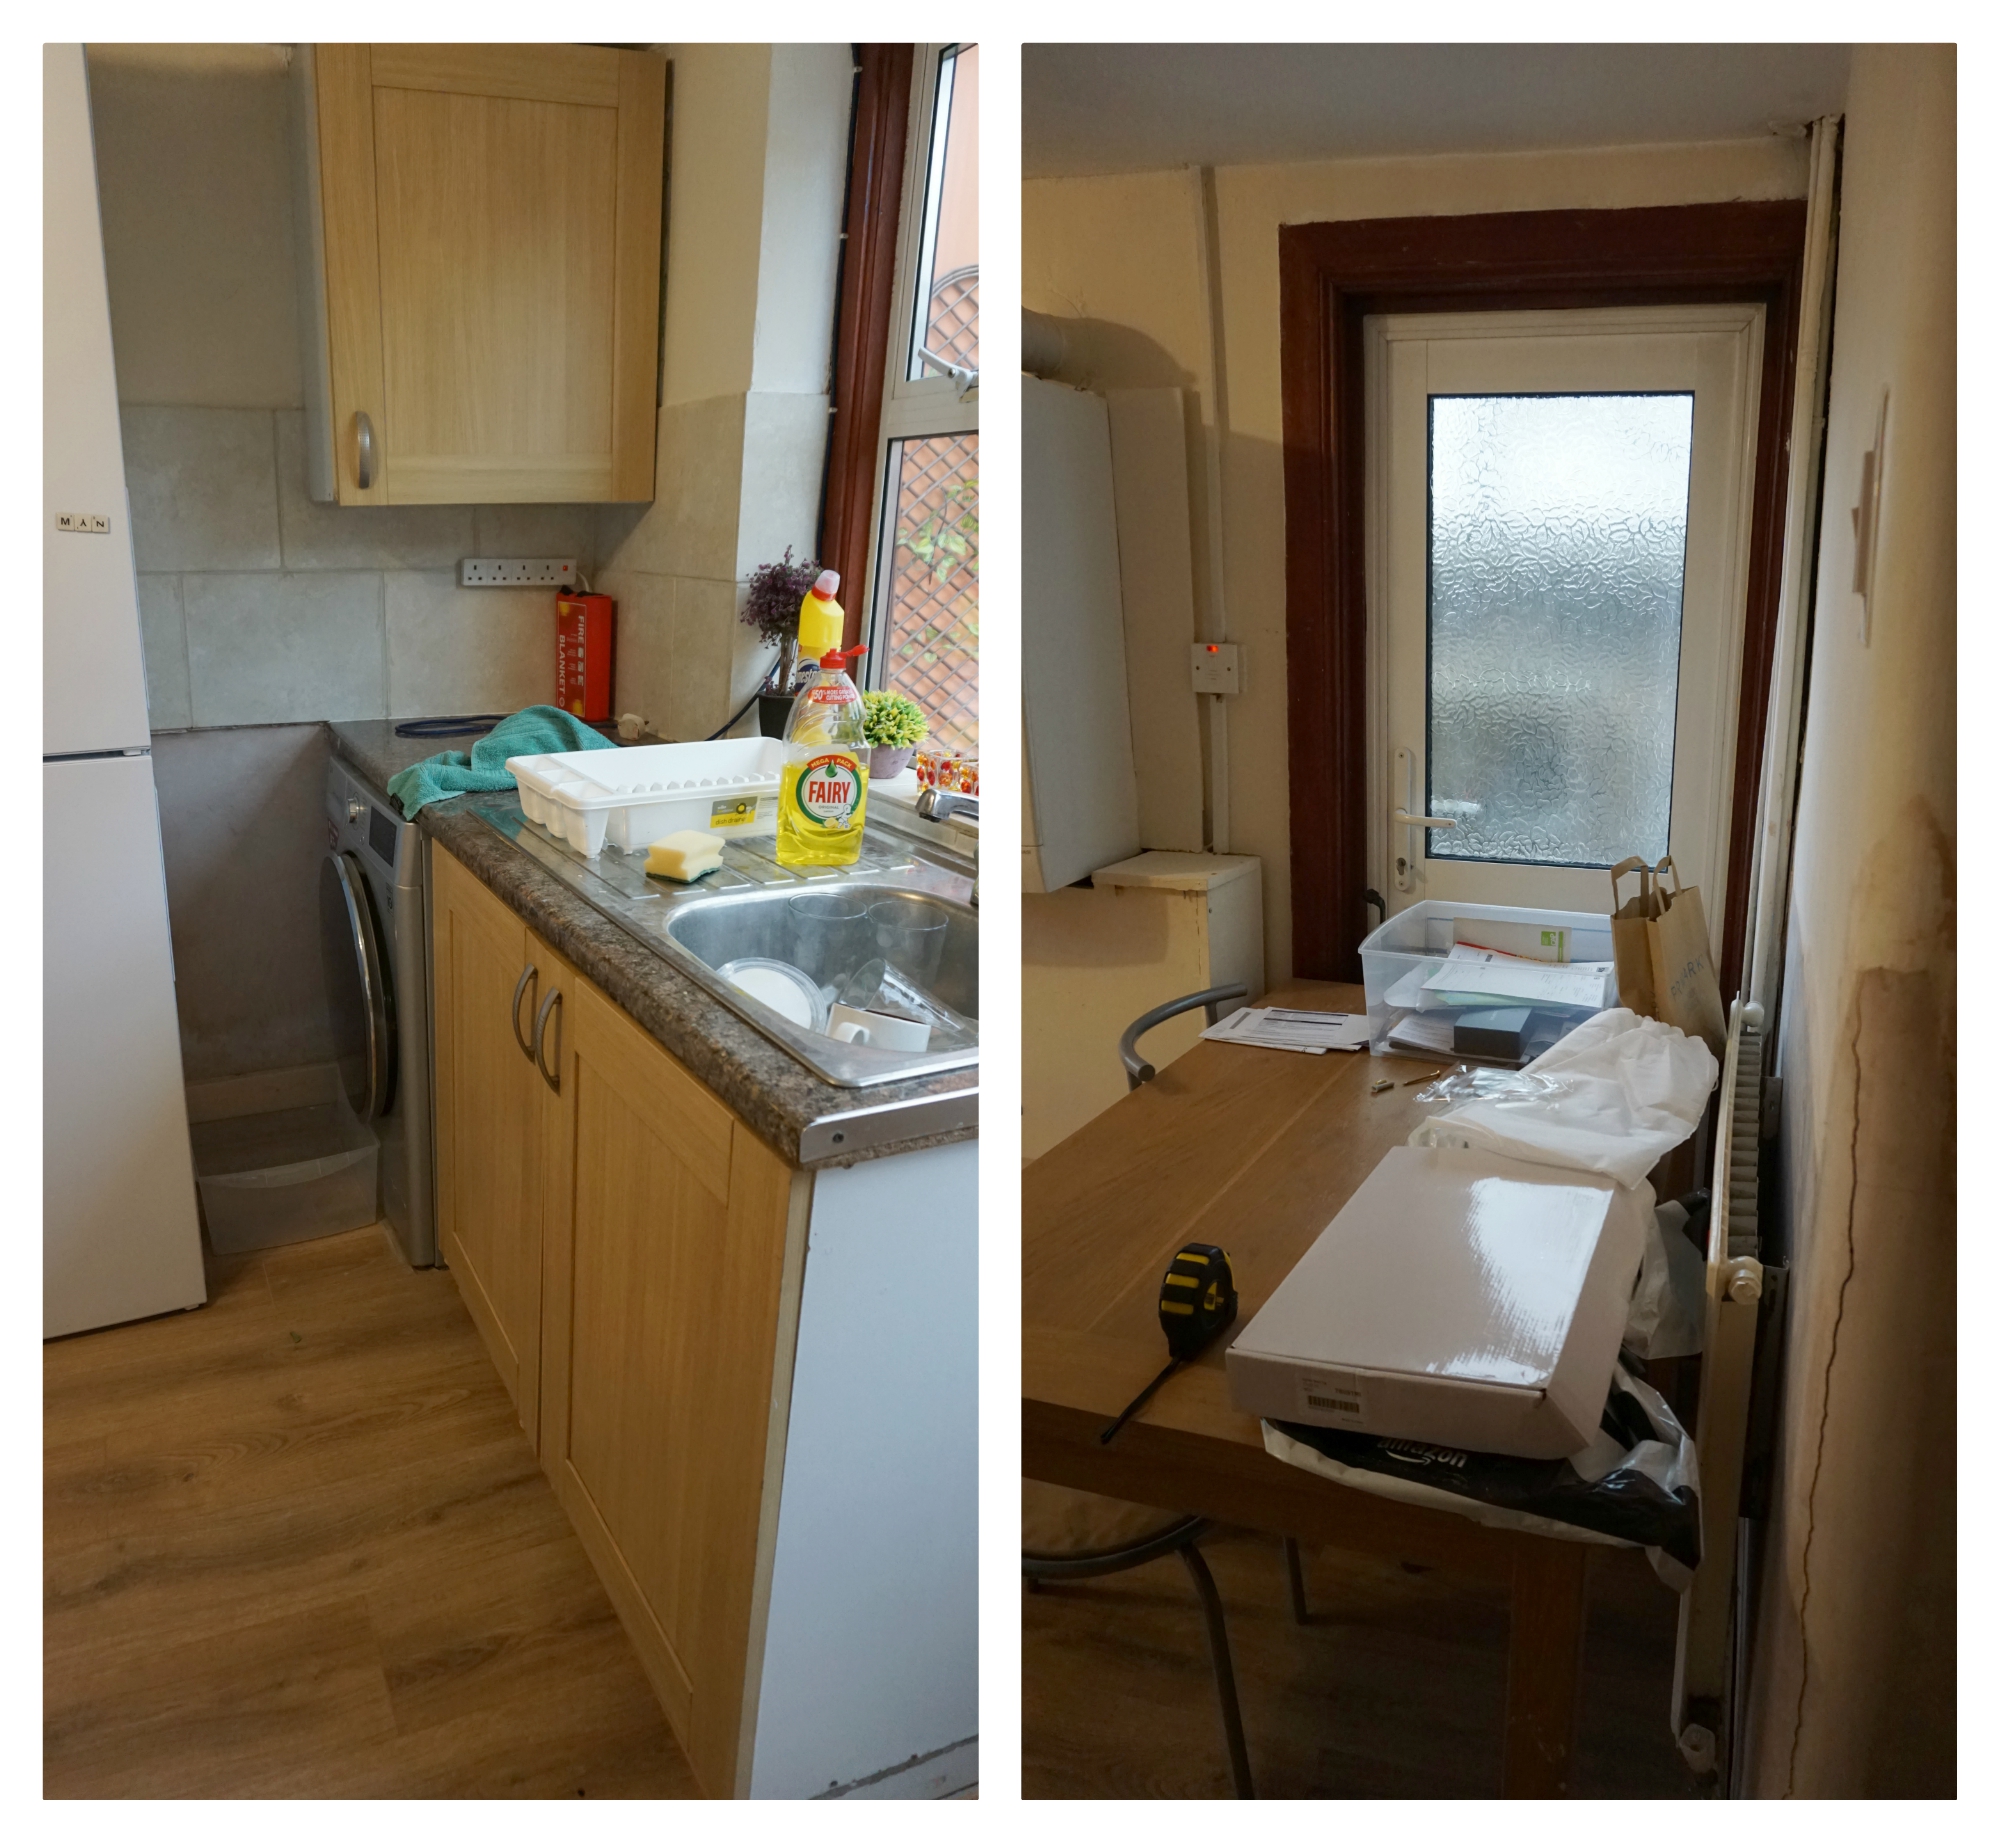
BEFORE…
Okay guys, this is a super cool transformation! The kitchen we inherited when we bought our house was pretty run down to say the least. Feast your eyes on the before photos. Looking back now, I can see why I tried to avoid the kitchen when we were living there, it wasn’t ideal!
AFTER
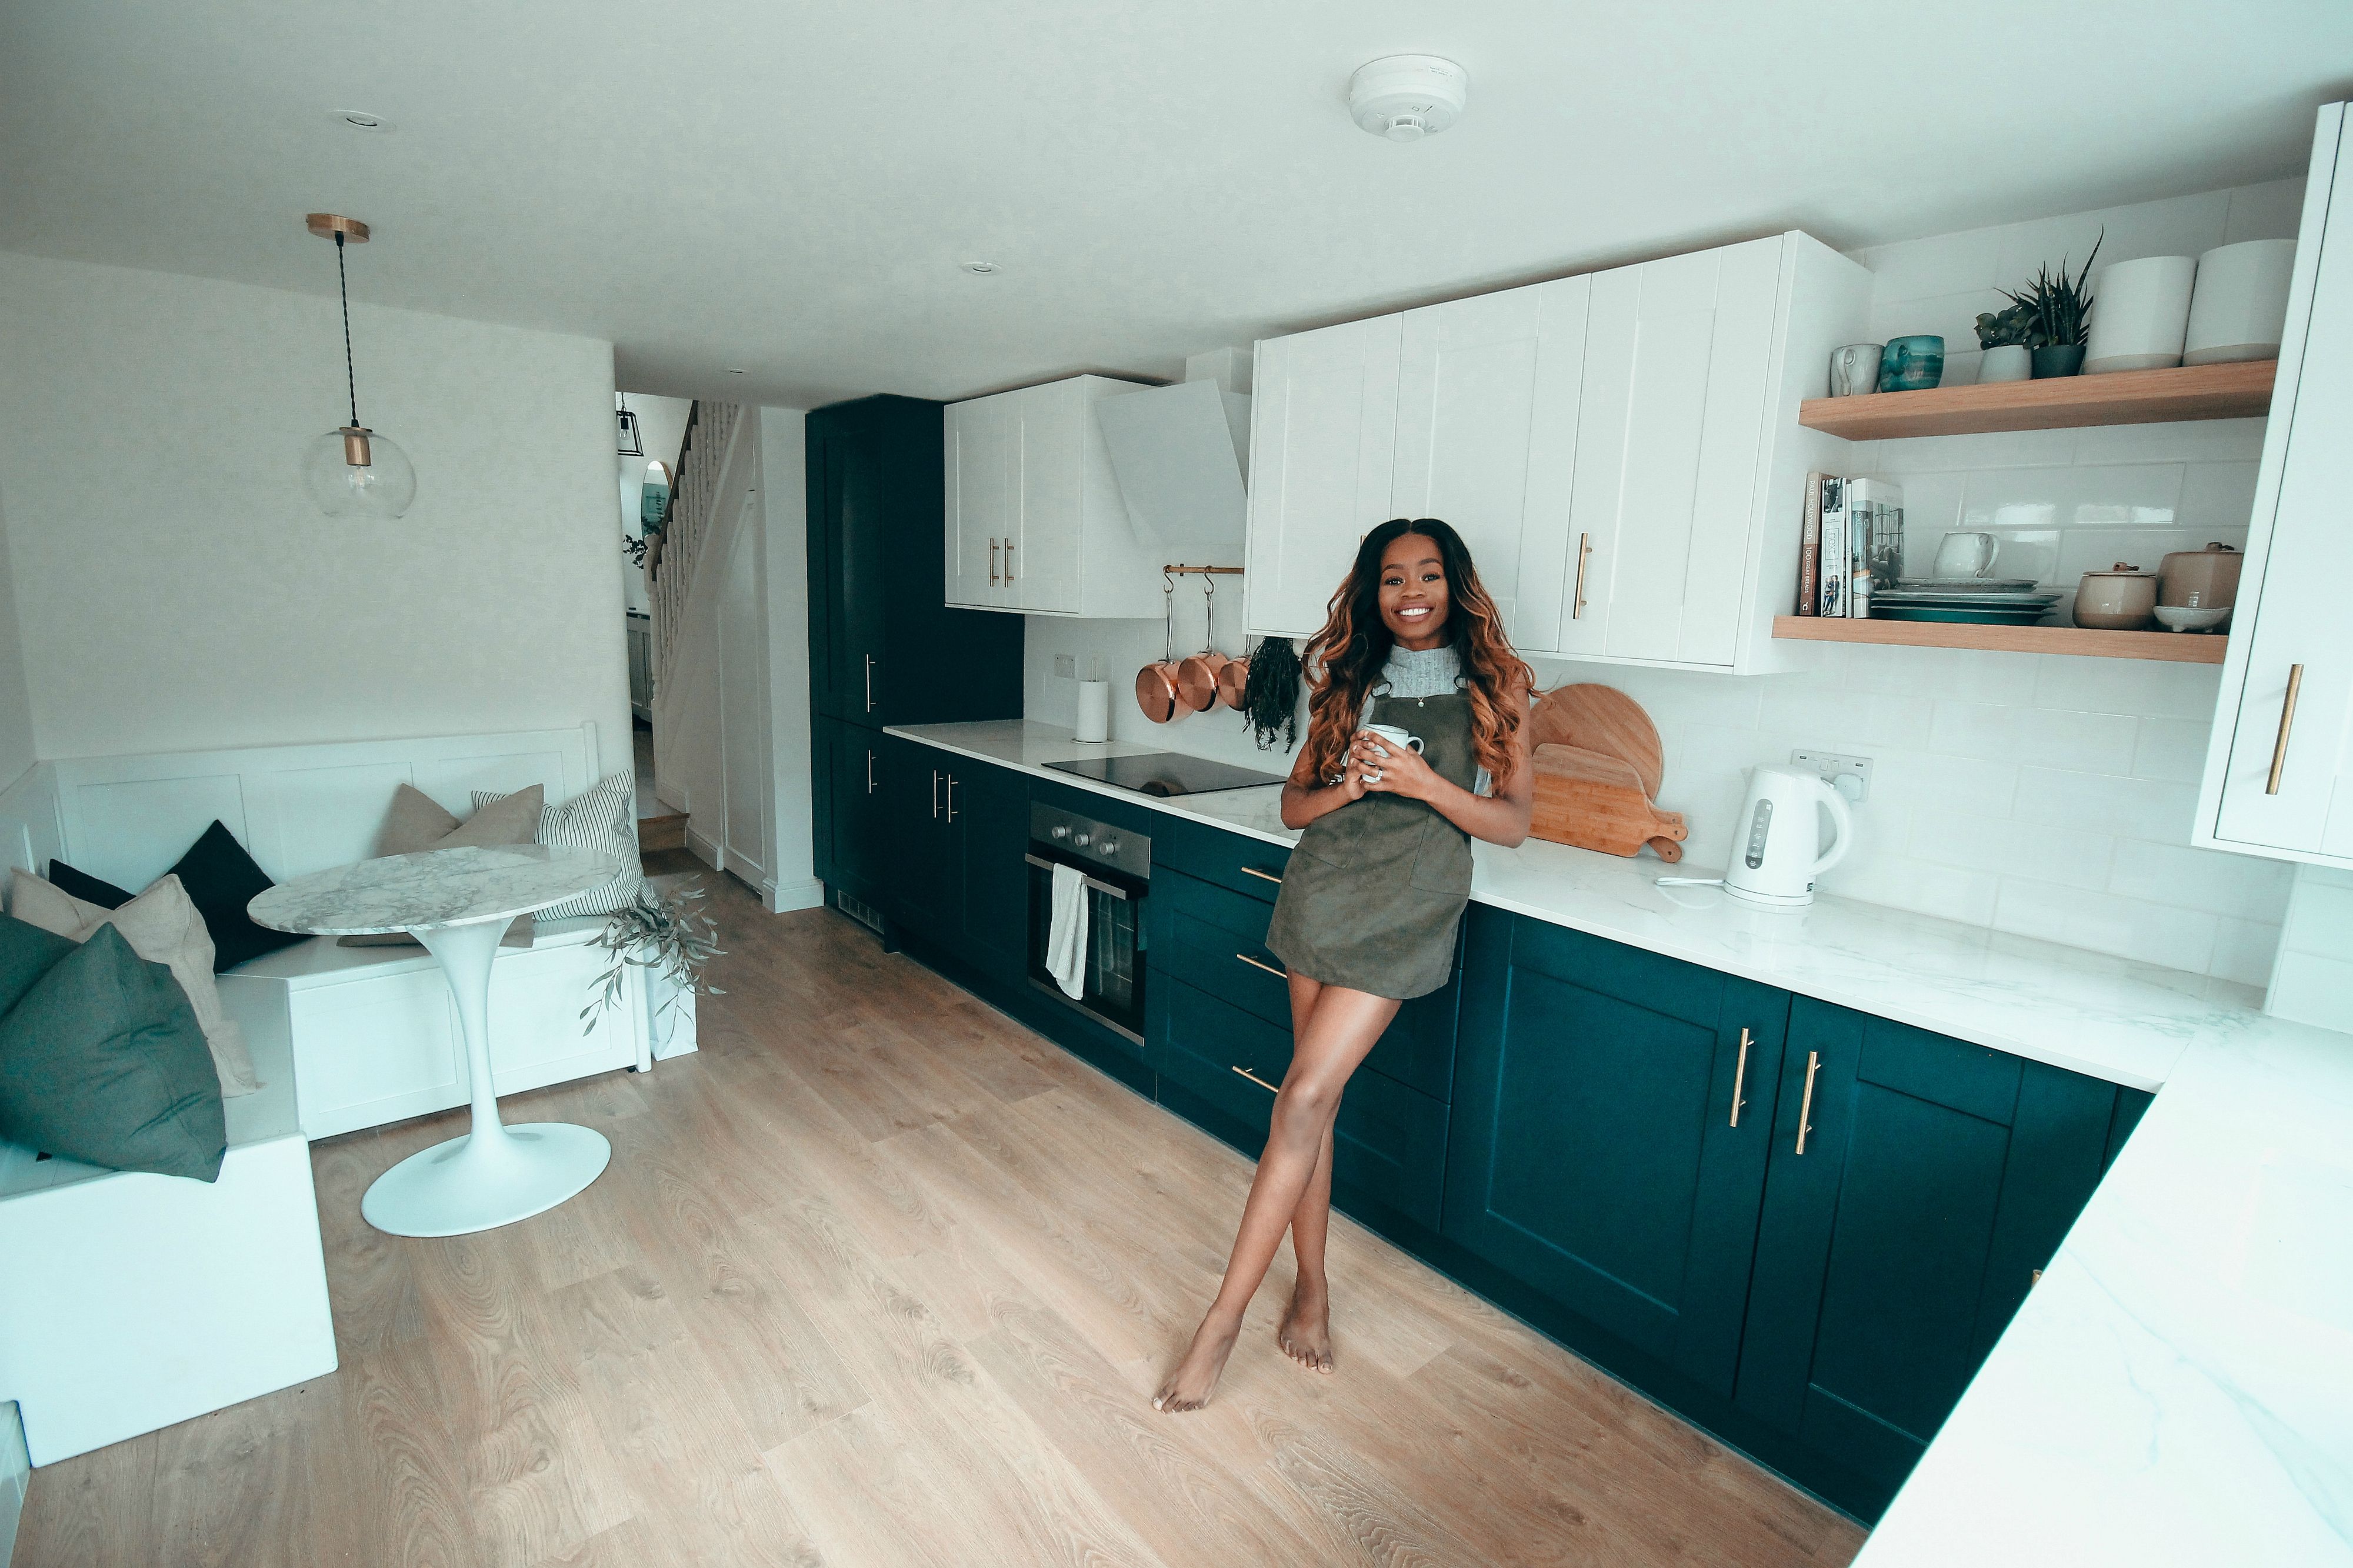
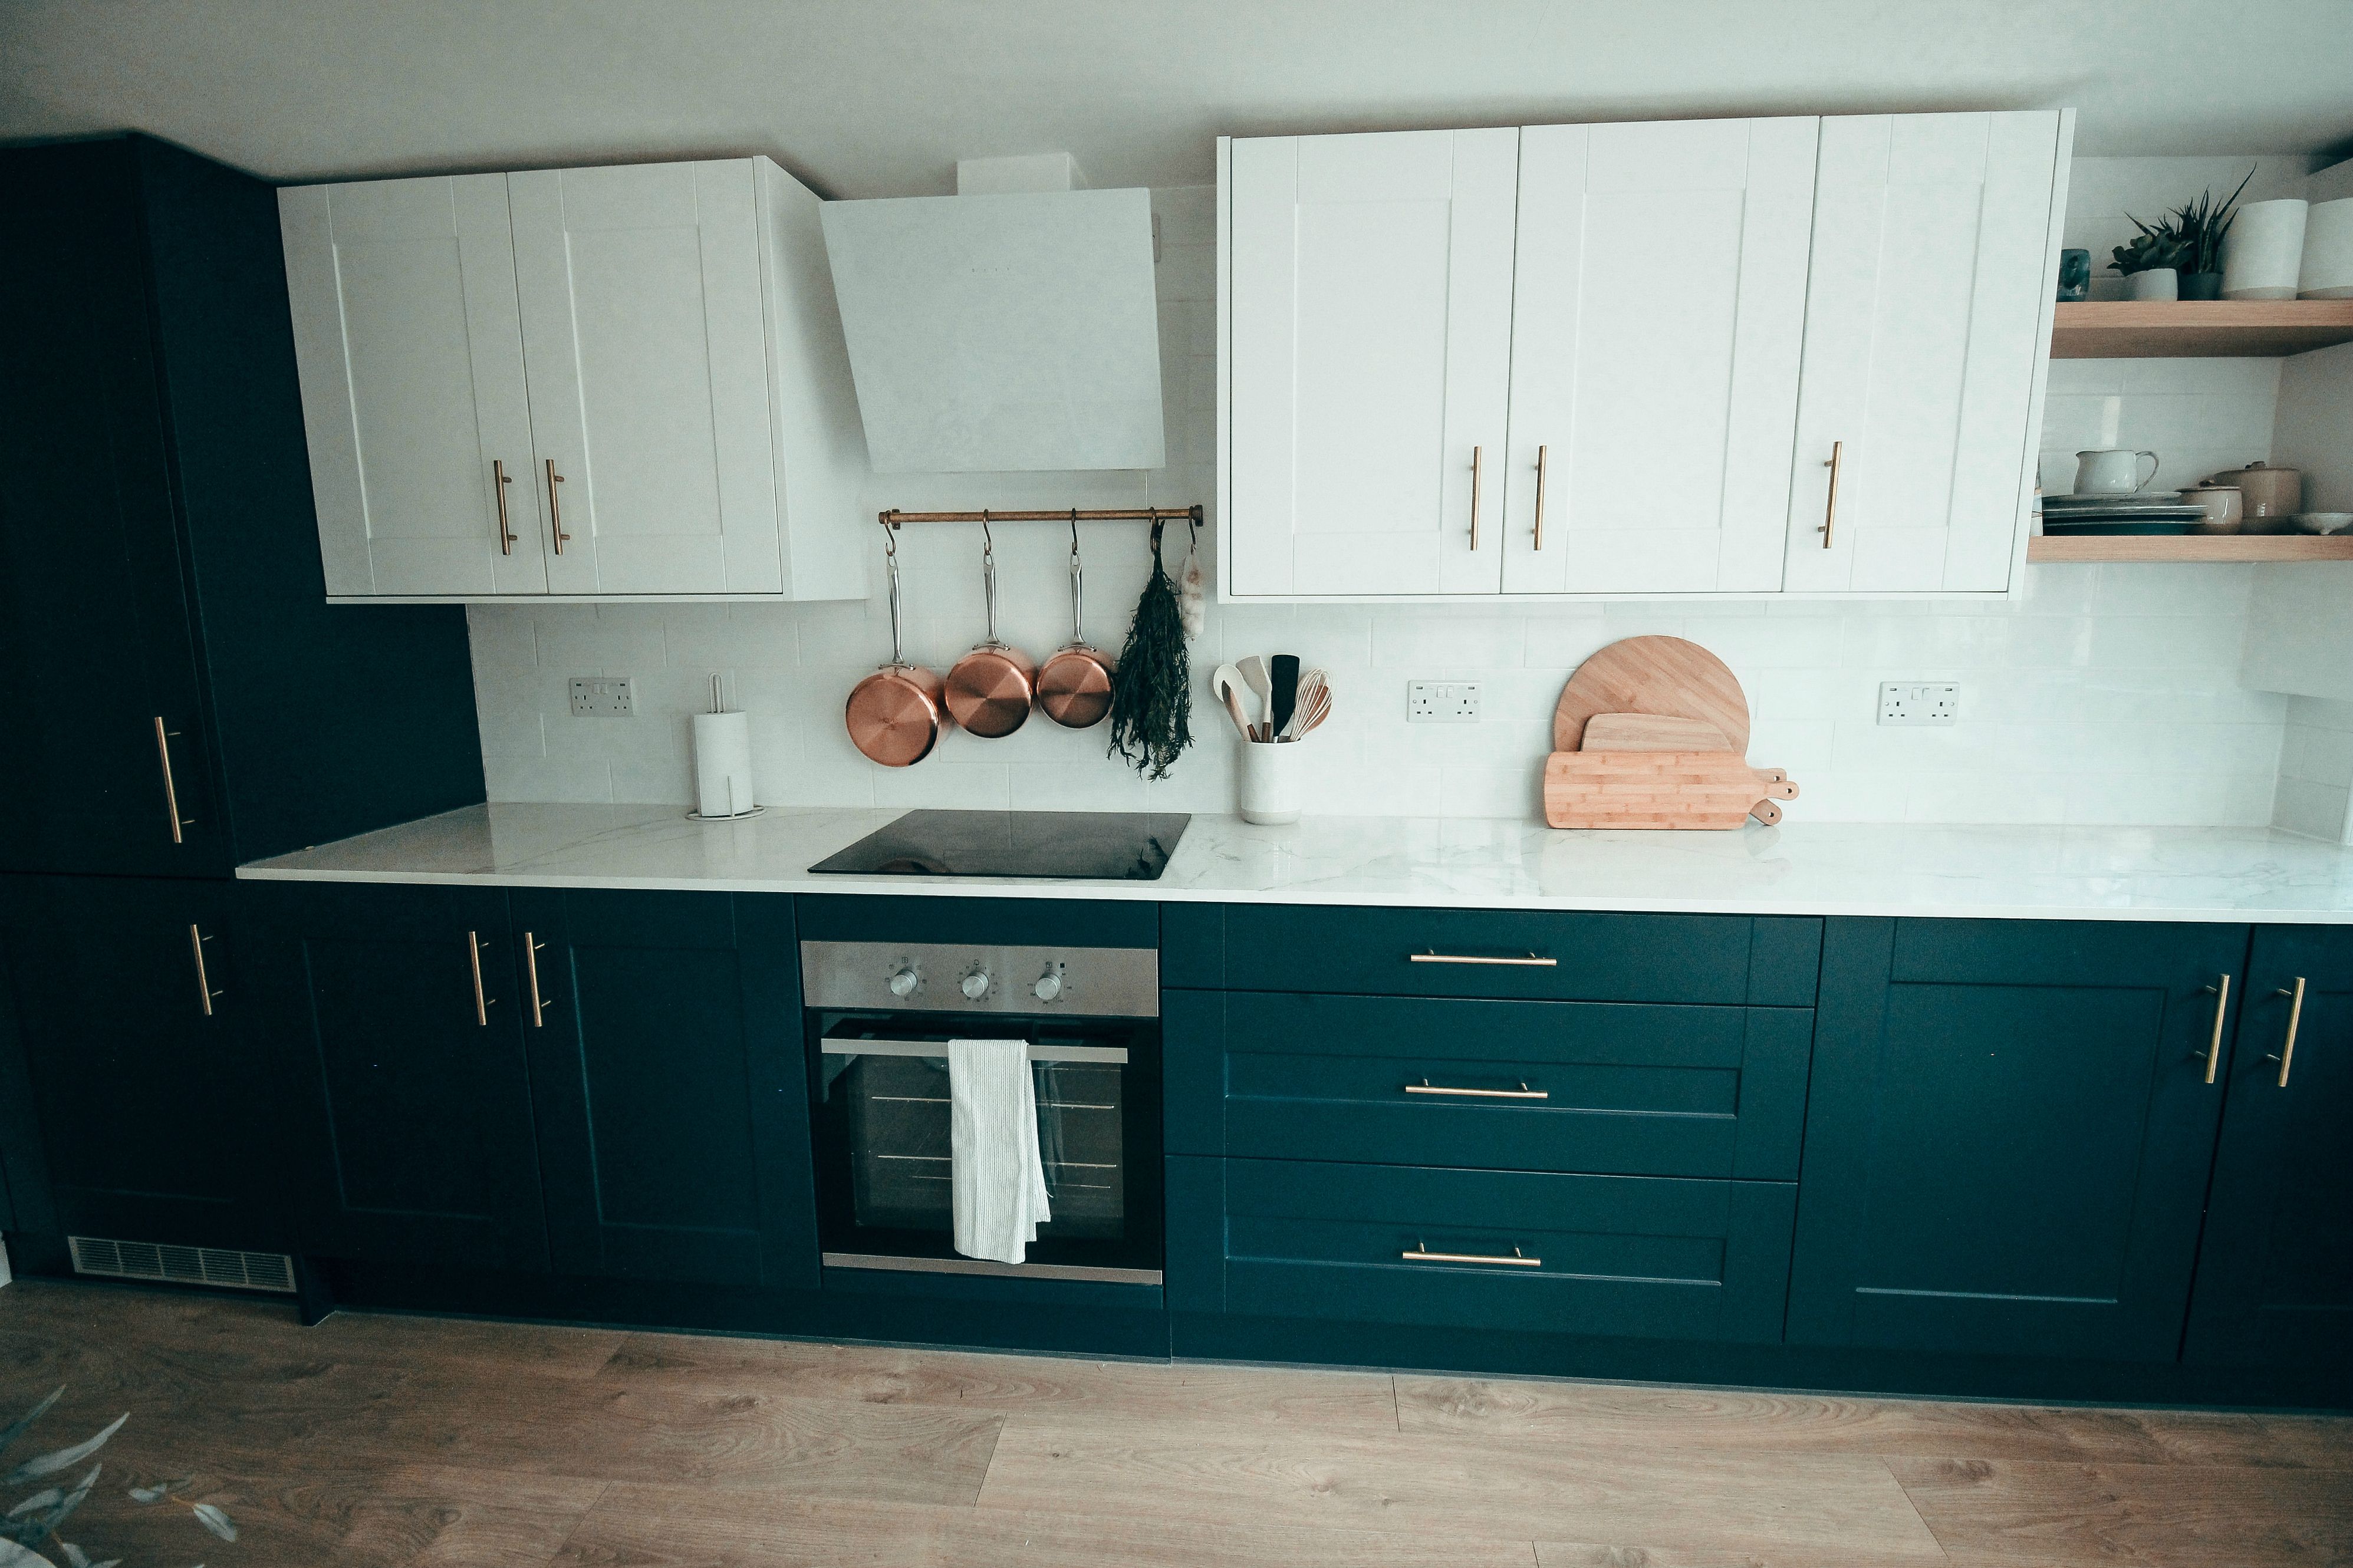
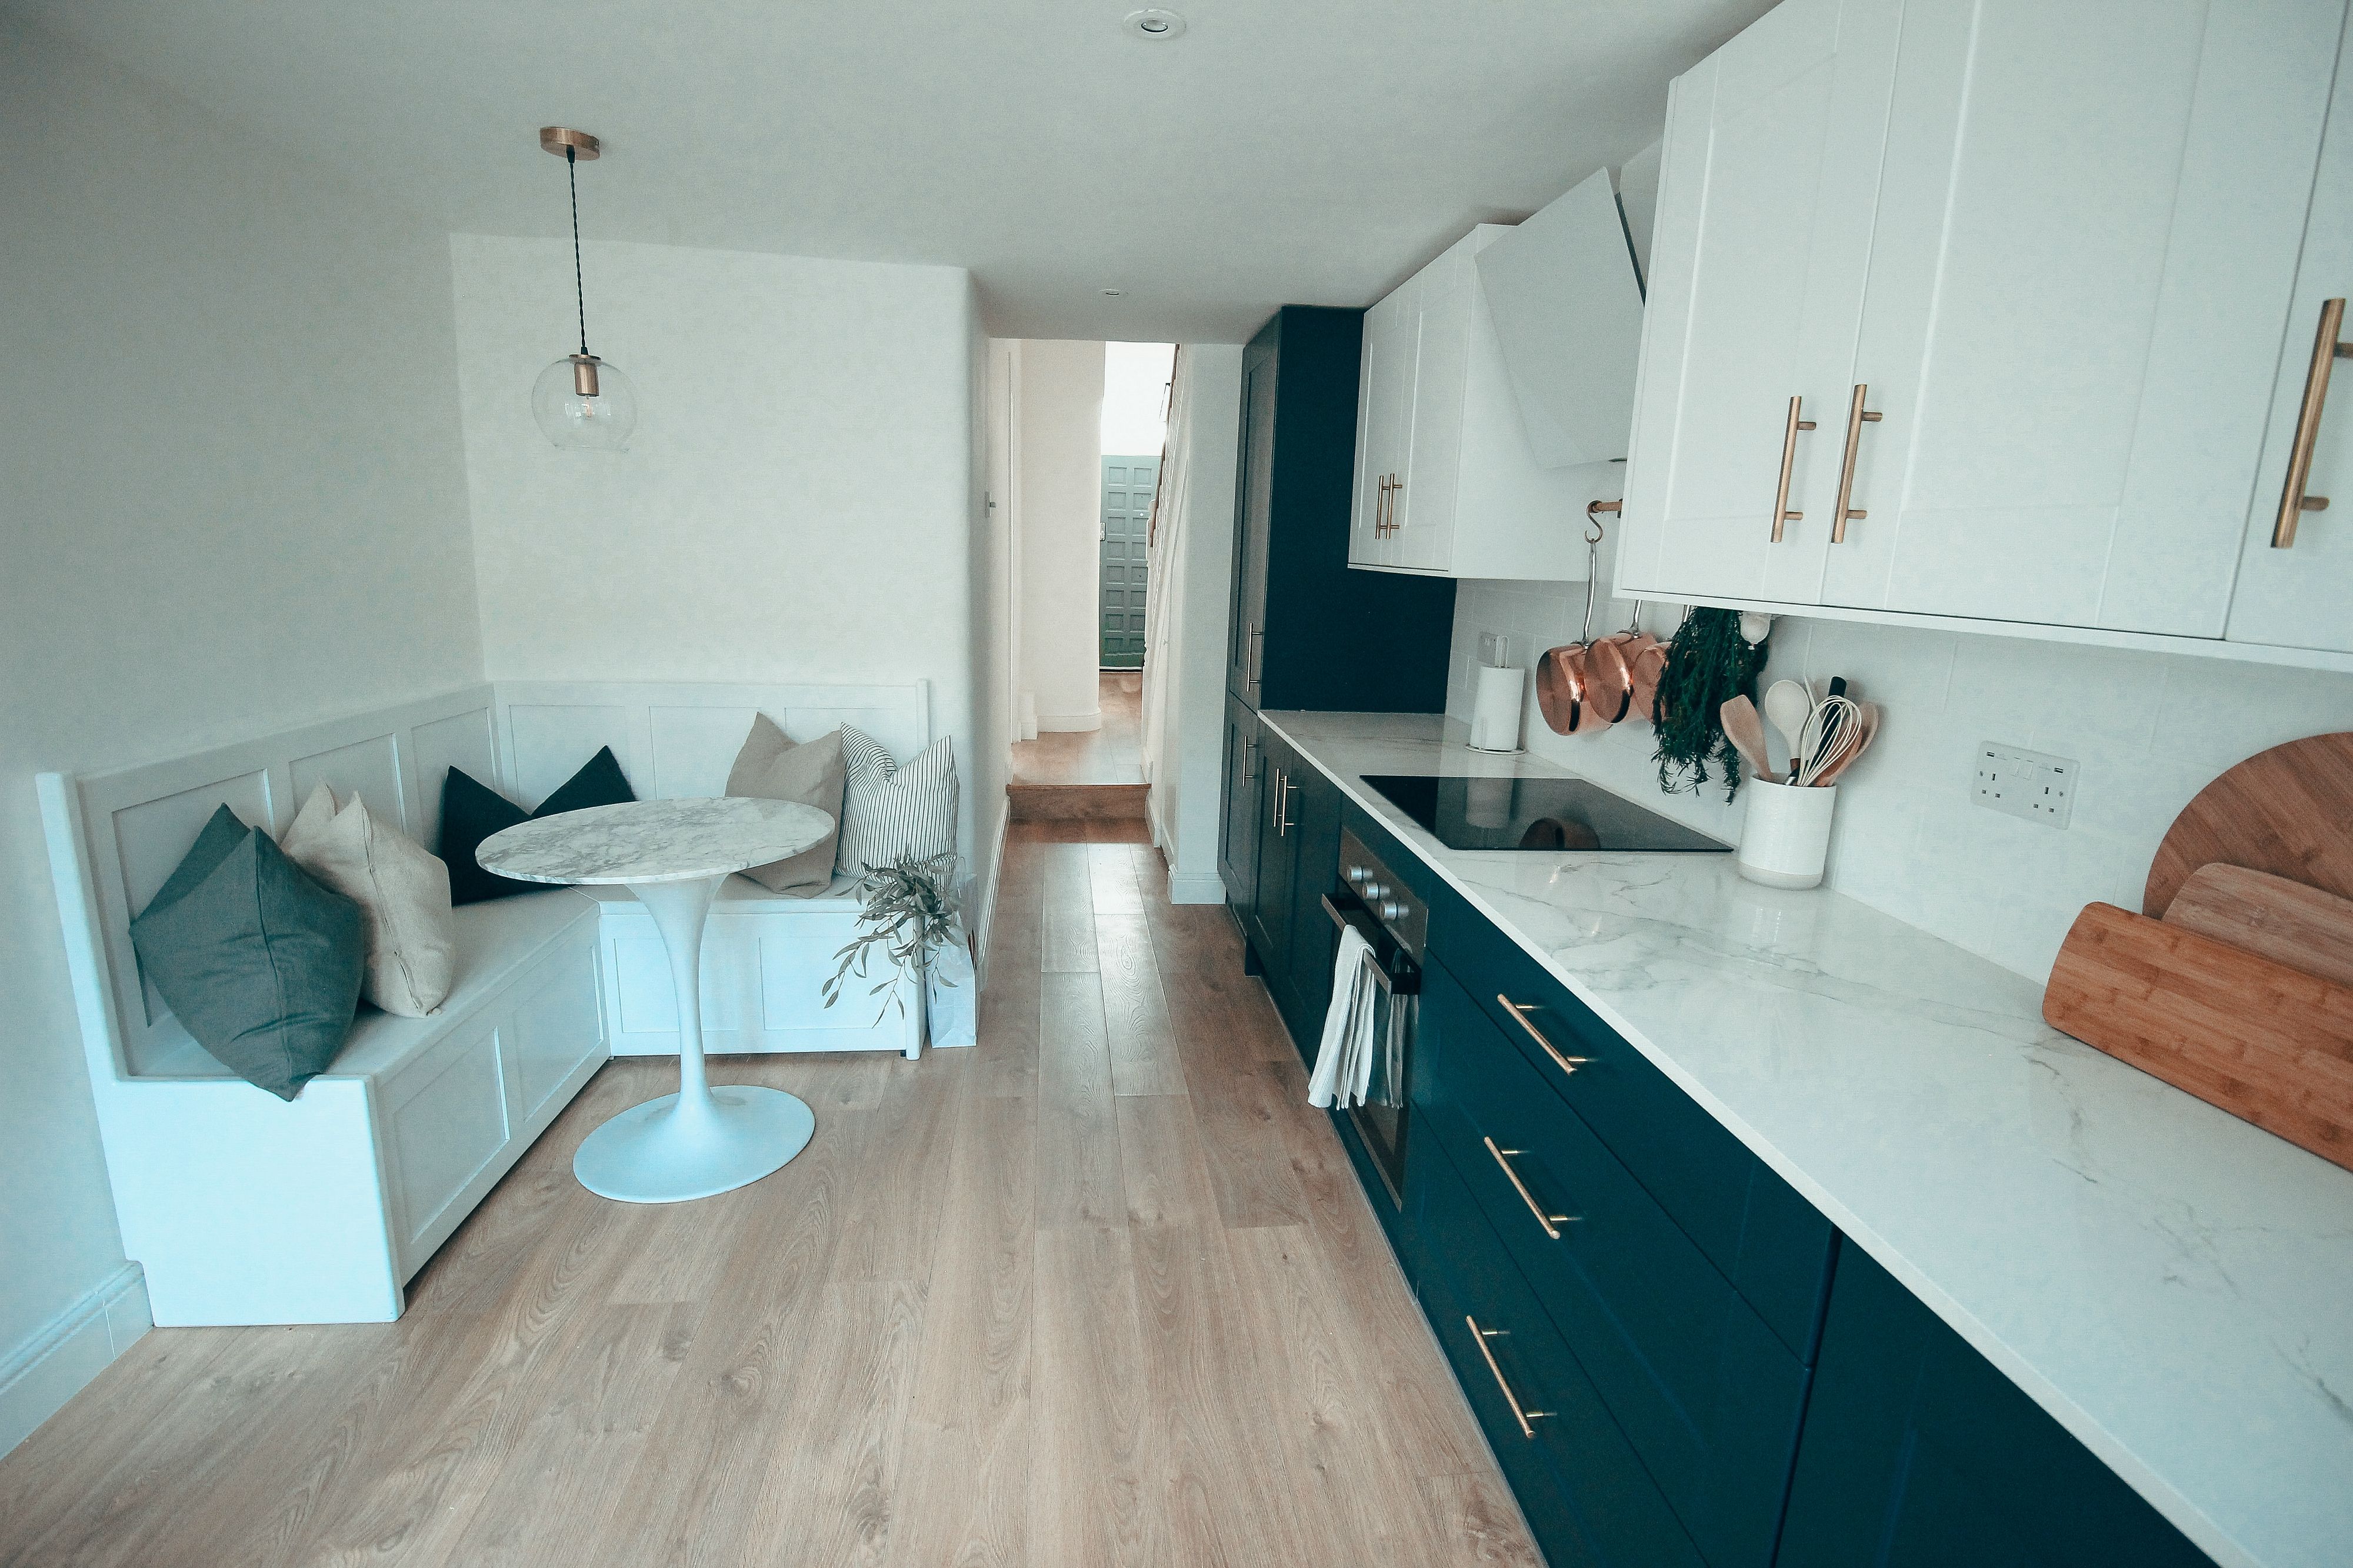
As you can see, the kitchen really needed a complete transformation, so that’s exactly what we did! Design-wise, the key elements I wanted in the kitchen were 1) a traditional look, which I achieved through using shaker style cabinetry, 2) moments of glamour, which the brass hardware, marble worktops and breakfast table helped to bring, 3) rustic elements and personalisation, which the open shelving and a brass hanging rail allowed me to do!
I fell in love with navy cabinets when I was looking at kitchen inspiration before we started the renovation. Navy blue is such a royal and bold colour, and it just captures the feeling I was trying to convey in the kitchen. I decided on a two-tone kitchen because the ceiling in our kitchen is lower than it is throughout the rest of the house, so I didn’t want to draw attention to that. Using white uppers helped maintain the airiness and elevated the ceiling in the room. The wood flooring is consistent throughout the ground floor of the house, which helps to maintain a visual flow throughout the ground floor and tie the rooms together stylistically.
There was a huge debate that ensued with our kitchen designer regarding our fridge/freezer standing cabinet. They were adamant that it wouldn’t fit in the space given the height of the ceiling, but I definitely wanted an integrated fridge/freezer so I put my foot down and said we’re taking the risk! Turns out, there was absolutely no issue at all with getting it into the kitchen and standing it. So we could have probably had another tower unit, perhaps a little pantry, or an oven and microwave unit.
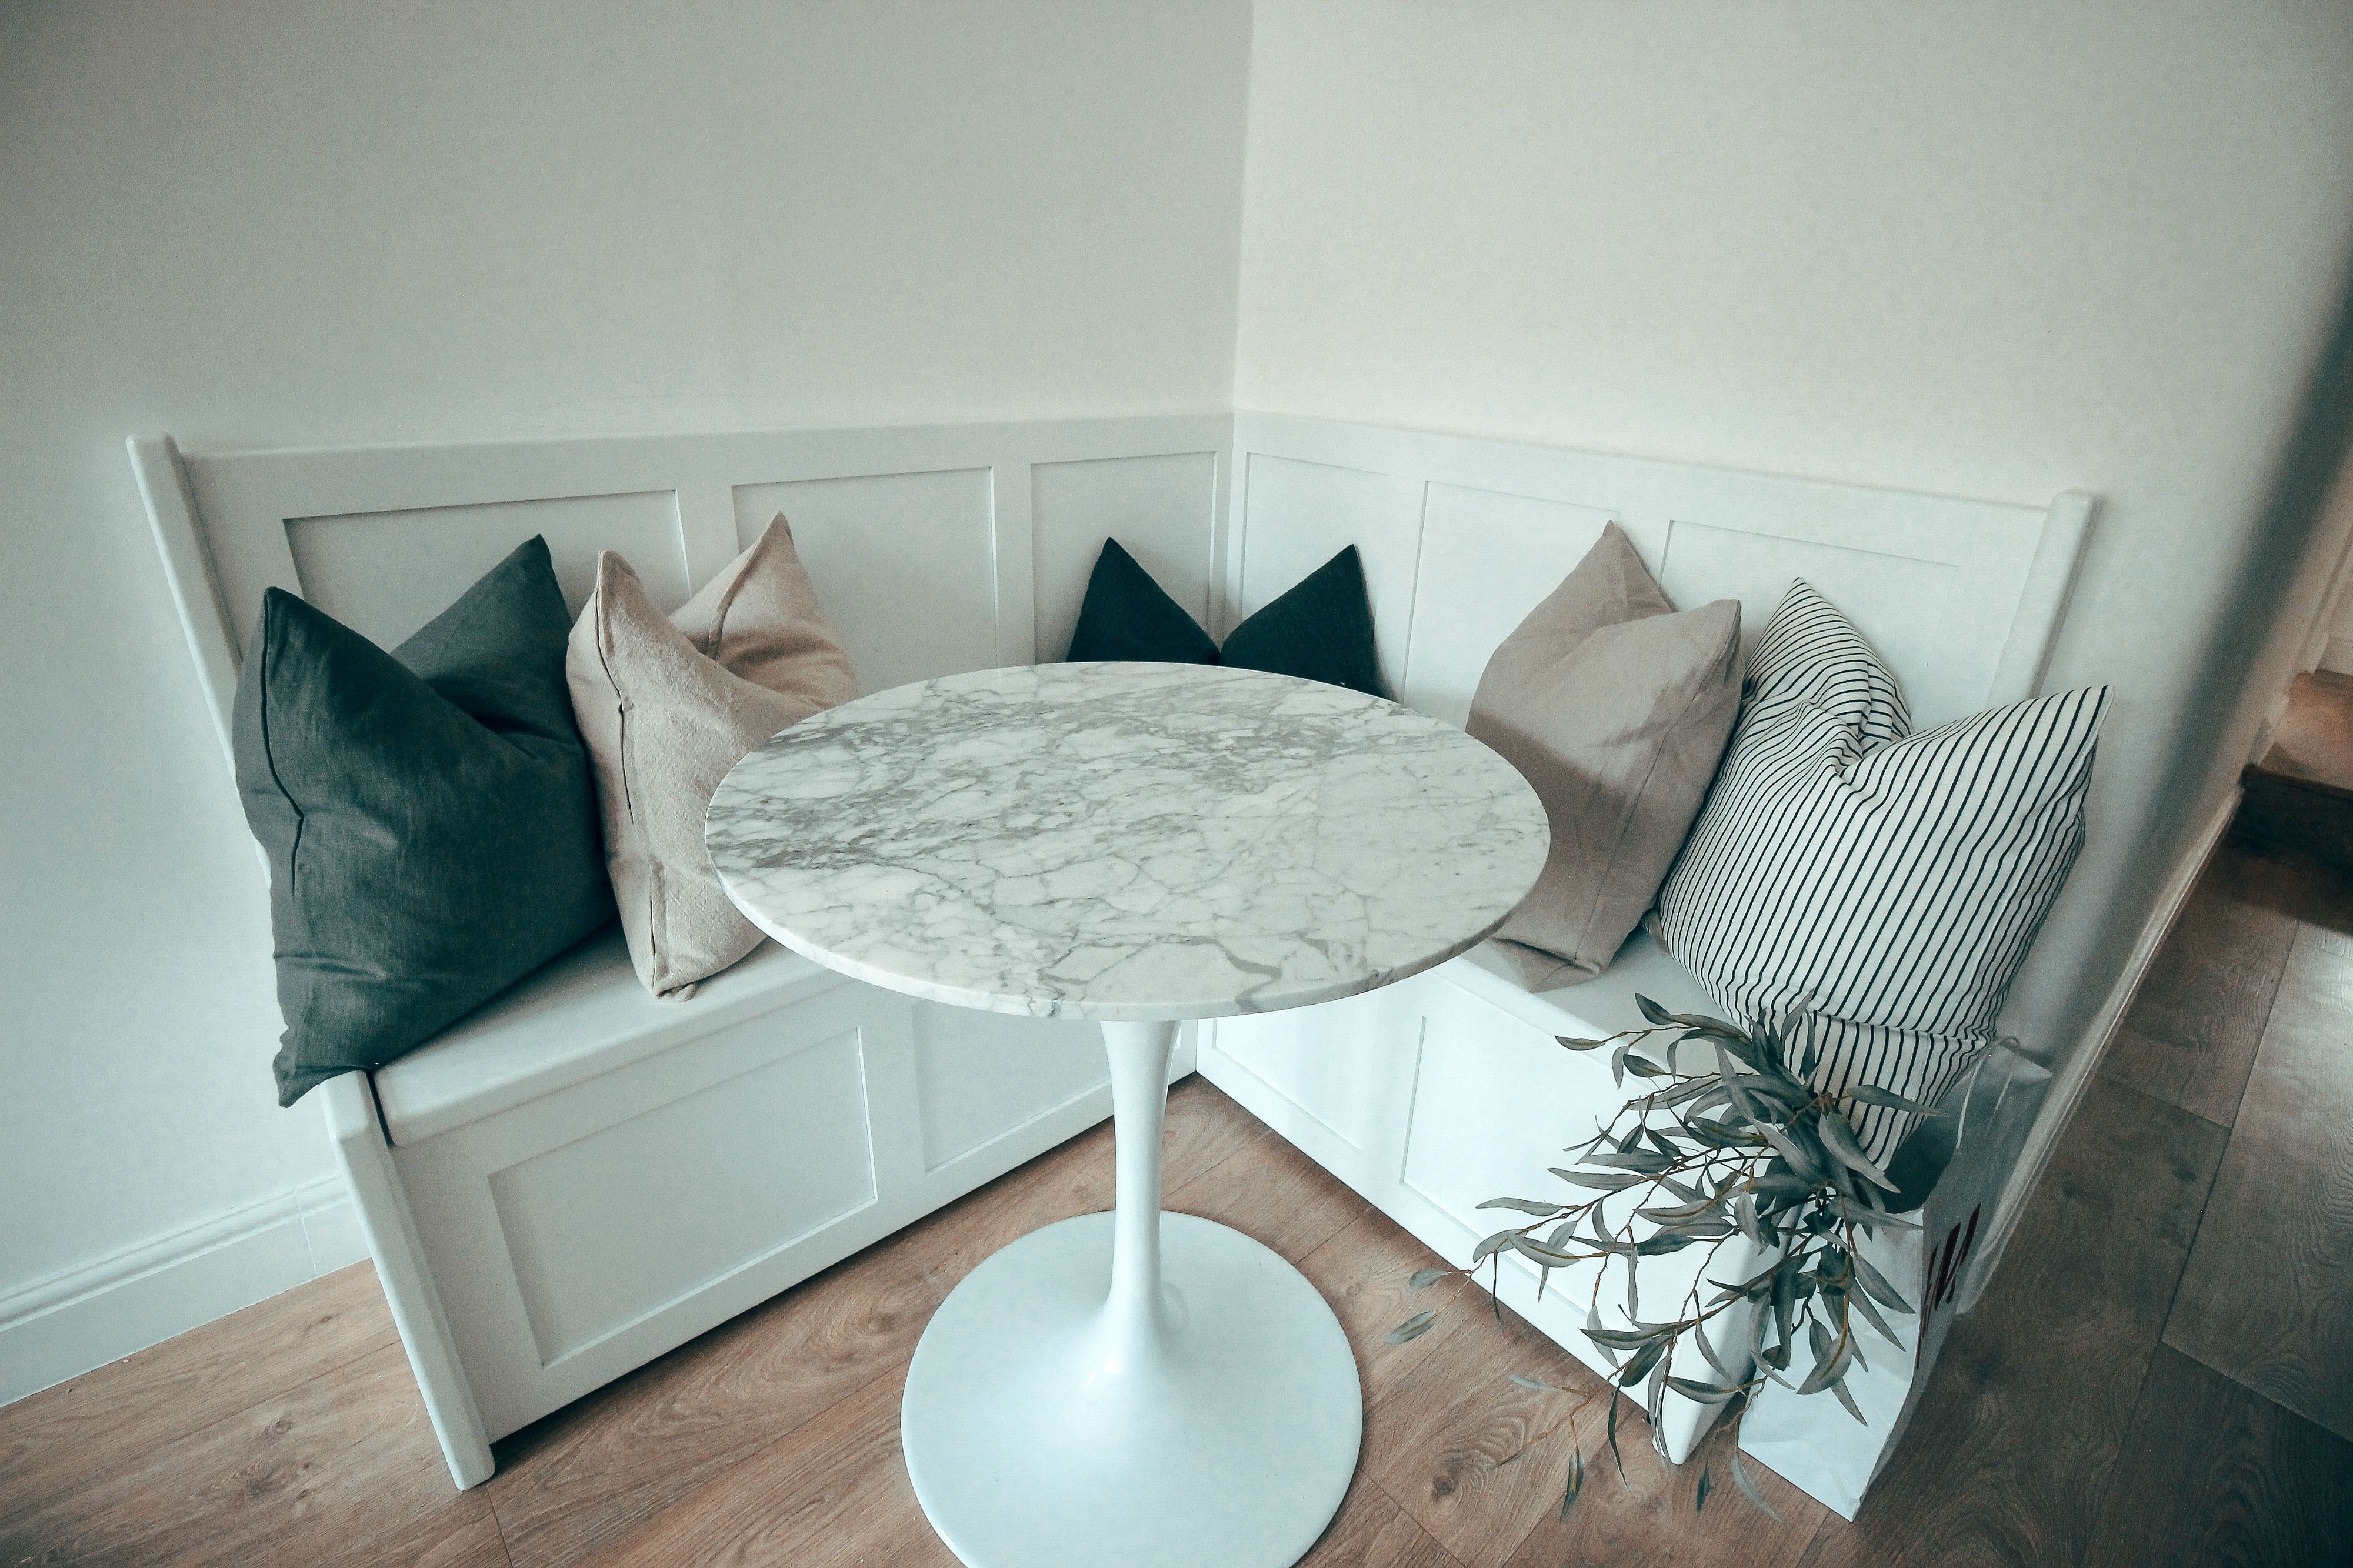
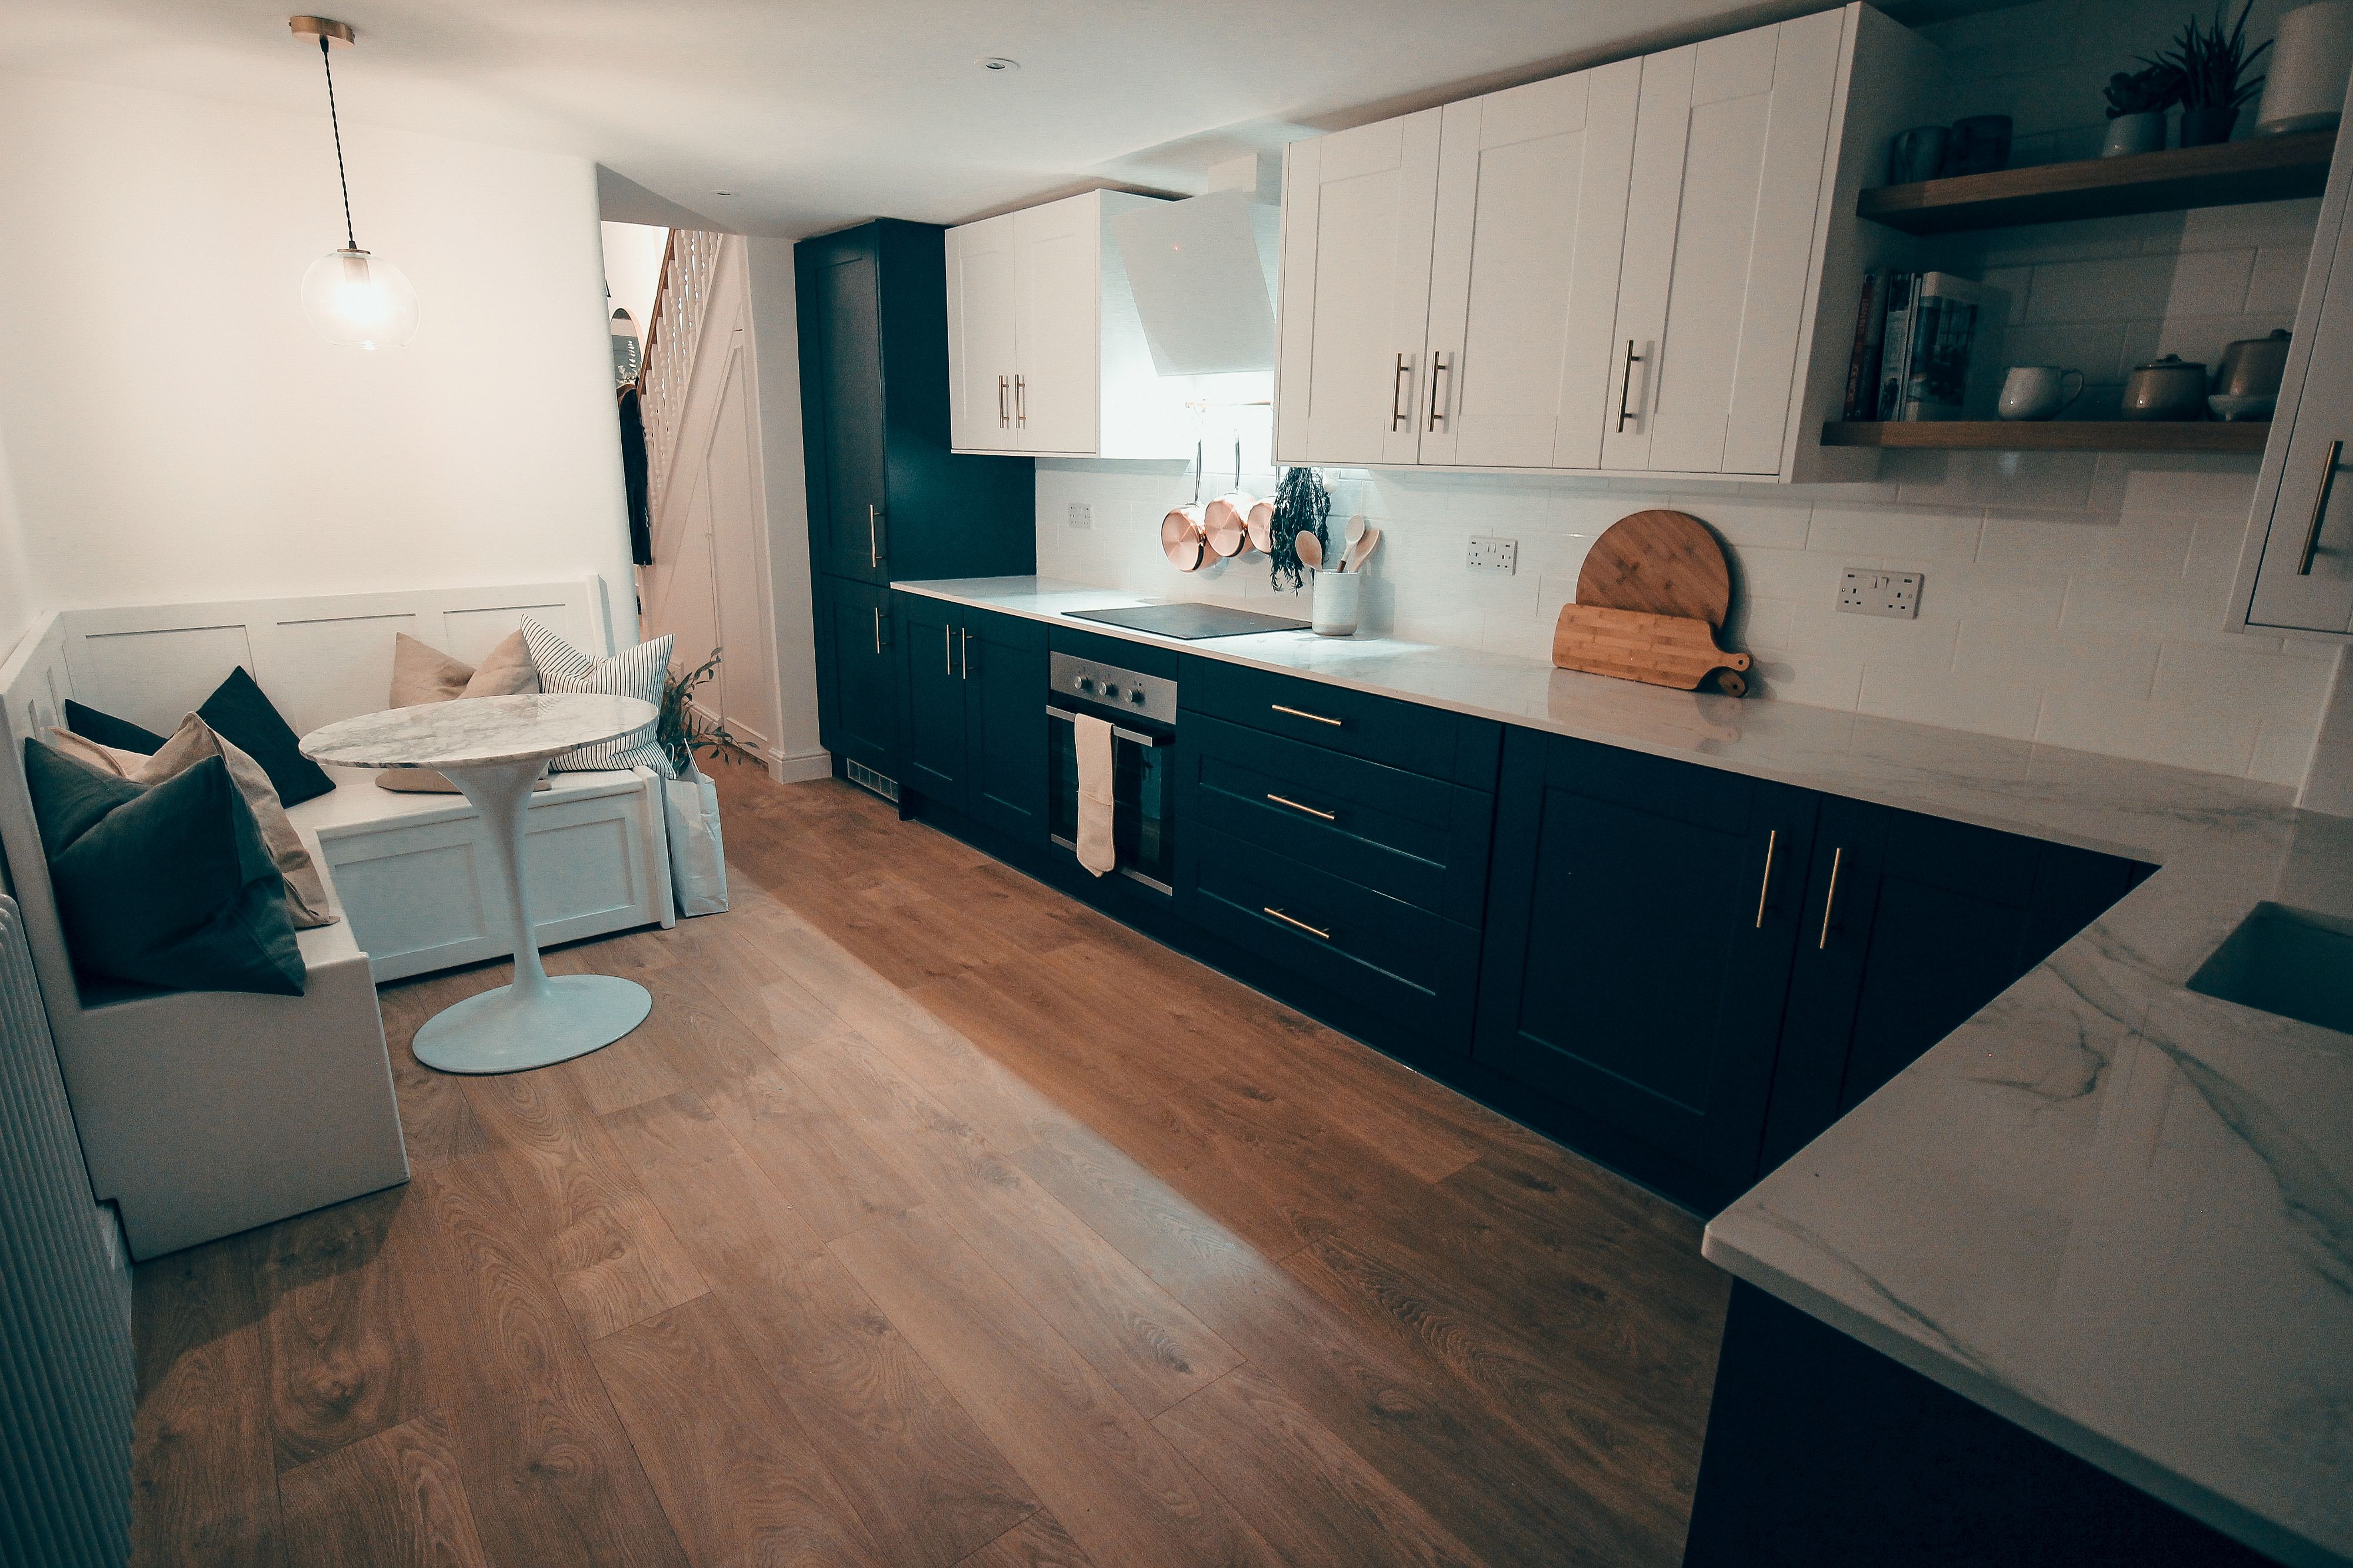
This breakfast banquette moment is one of my favourite things about this kitchen! It is so incredibly cosy and really convenient as it allows friends and family to get comfy and hang out with you while you’re cooking in the kitchen. The bench has really useful storage underneath the seats, and the table can act as extra counter space (although we don’t really need it, the counter space we have available is pretty good). We still need to get two seat cushions for the bench, but the quotes we’ve received so far are all around £300 for the two seat cushions! More than I expected, so I’ll either DIY it (not likely) or sit on the idea to determine whether or not it’s a necessity or a nice-to-have.
When we were thinking about the shape that we would go for in the kitchen, it was pretty much a choice between retaining the existing kitchen shape and adding this breakfast nook, or getting an island in the middle of the kitchen. Our kitchen is a decent size but probably on the narrow side if we wanted to get an island. It would have been possible, but I’m so glad we didn’t do it because it just would have broken up the space and got in the way, making the kitchen more difficult to manoeuvre around. The first option, a kitchen banquette, also won the vote on my Instagram poll, you guys always know best!
I got the marble tulip dining table from Ebay at a huge discount because it was slightly chipped on one of the edges (these things usually retail between £600 and £3000!). It’s funny how you don’t know how something will look in a room until it’s actually there. I swear I measured and re-measured the space we had available for the table and I was certain that 70 cm diameter was the absolute perfect size for the table. So I got a table that was 70 cm in diameter, brought it into the space and saw that it actually could have been bigger! Ha. I think we could have done 90 cm or 1 metre. But 70 cm is totally fine, so I don’t think I’ll be changing it, it’s just not worth the effort, and the veining on the marble table we have is beautiful.
There’s a brass and glass pendant light that hangs above the banquette which helps to stylistically tie in that corner of the kitchen with the rest of the kitchen.
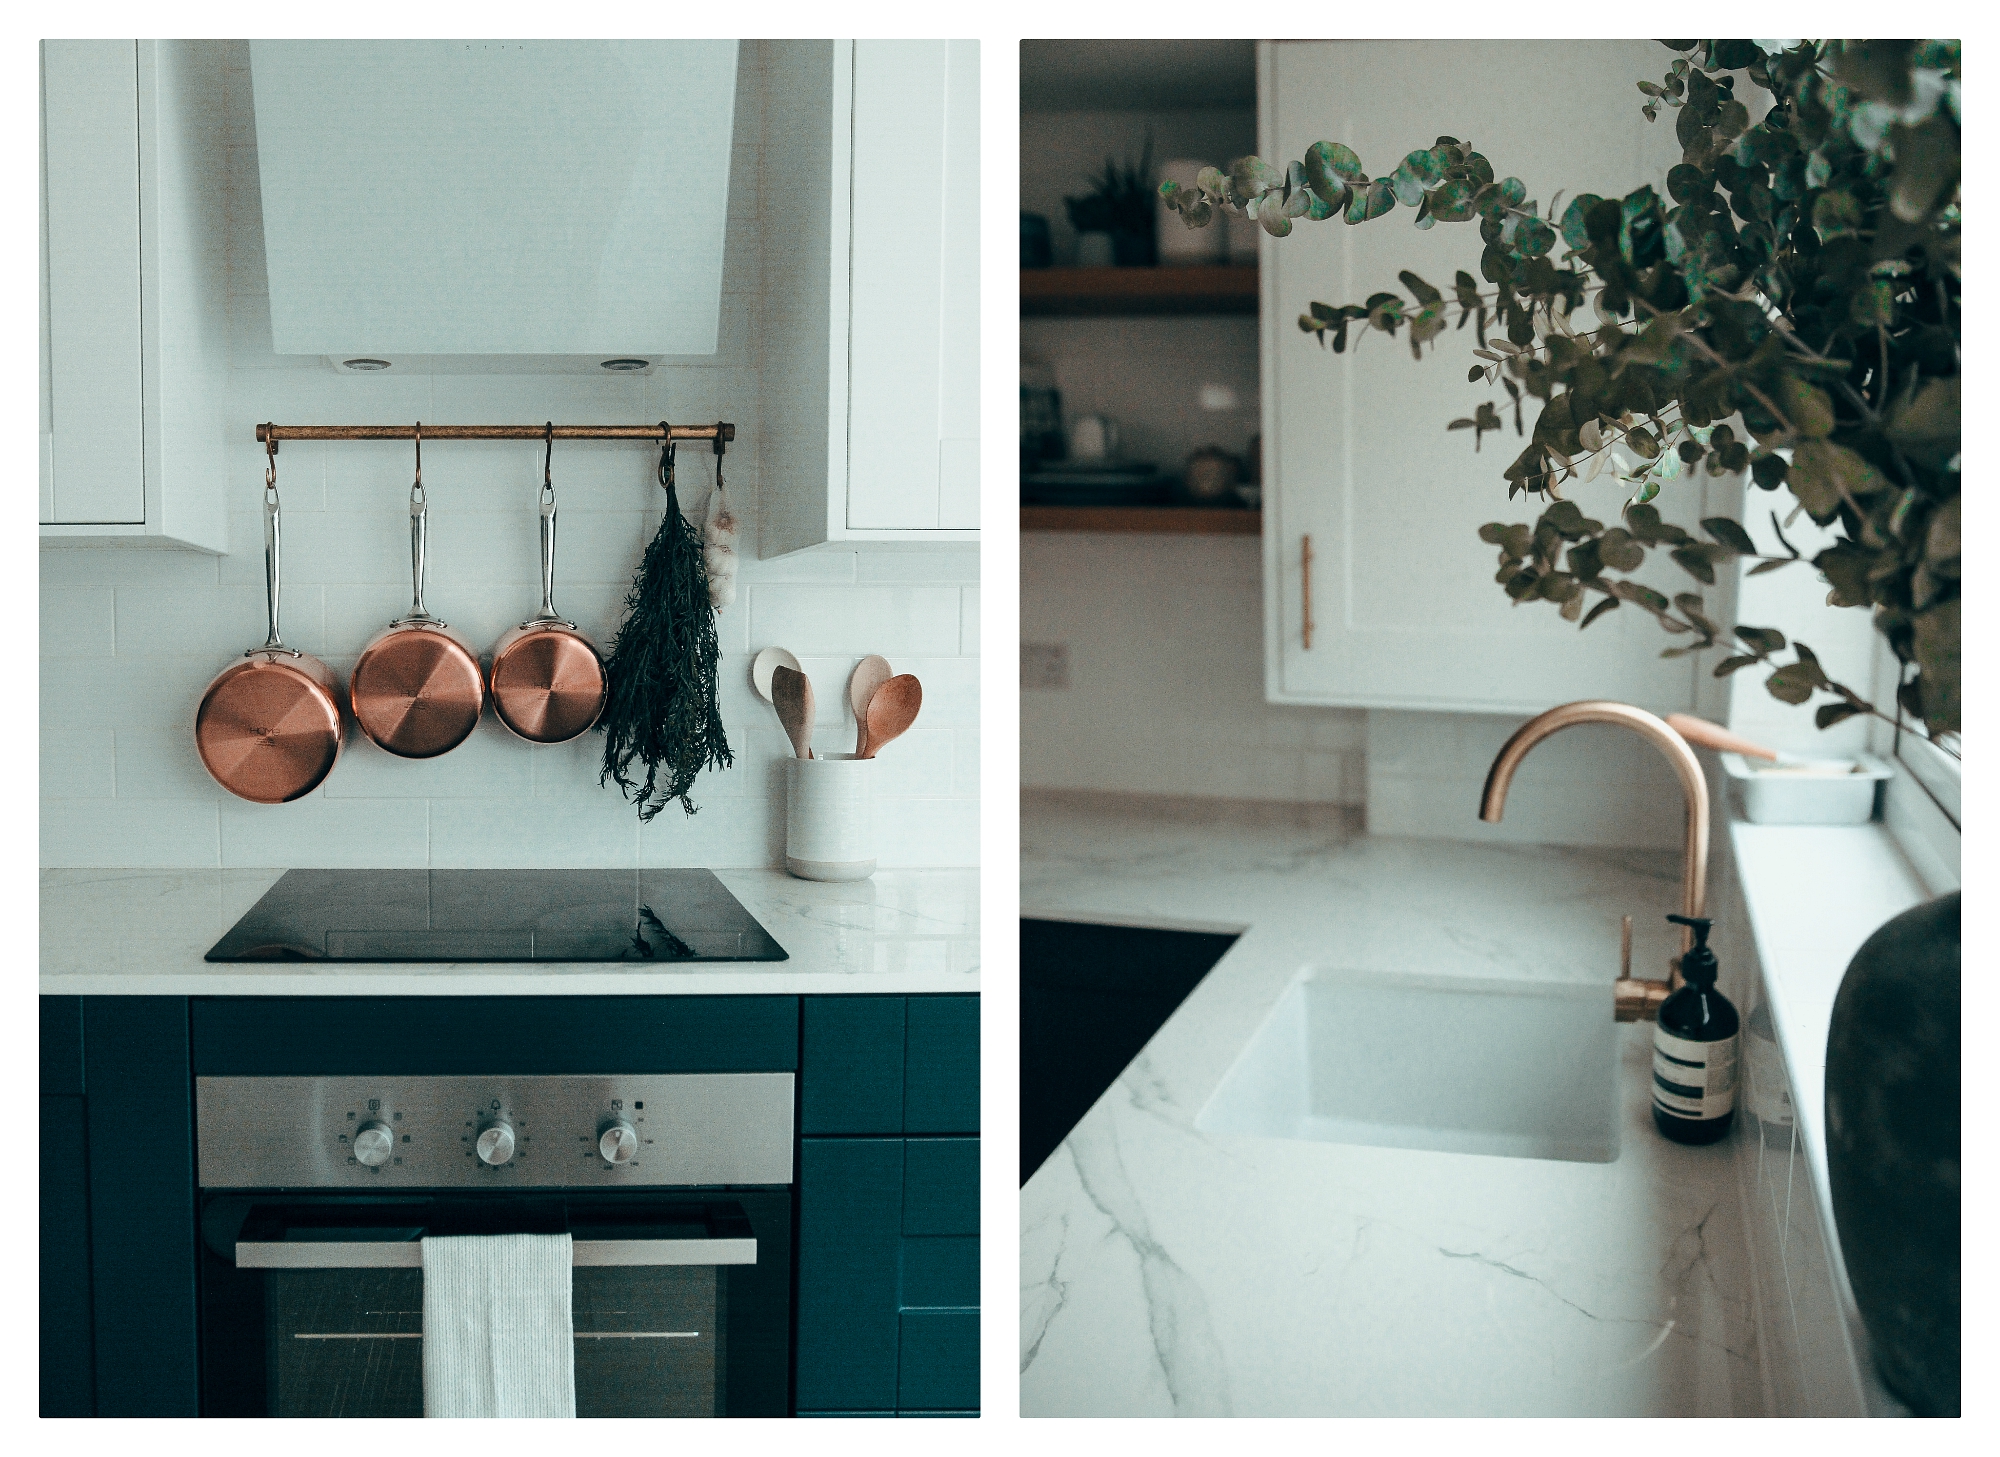

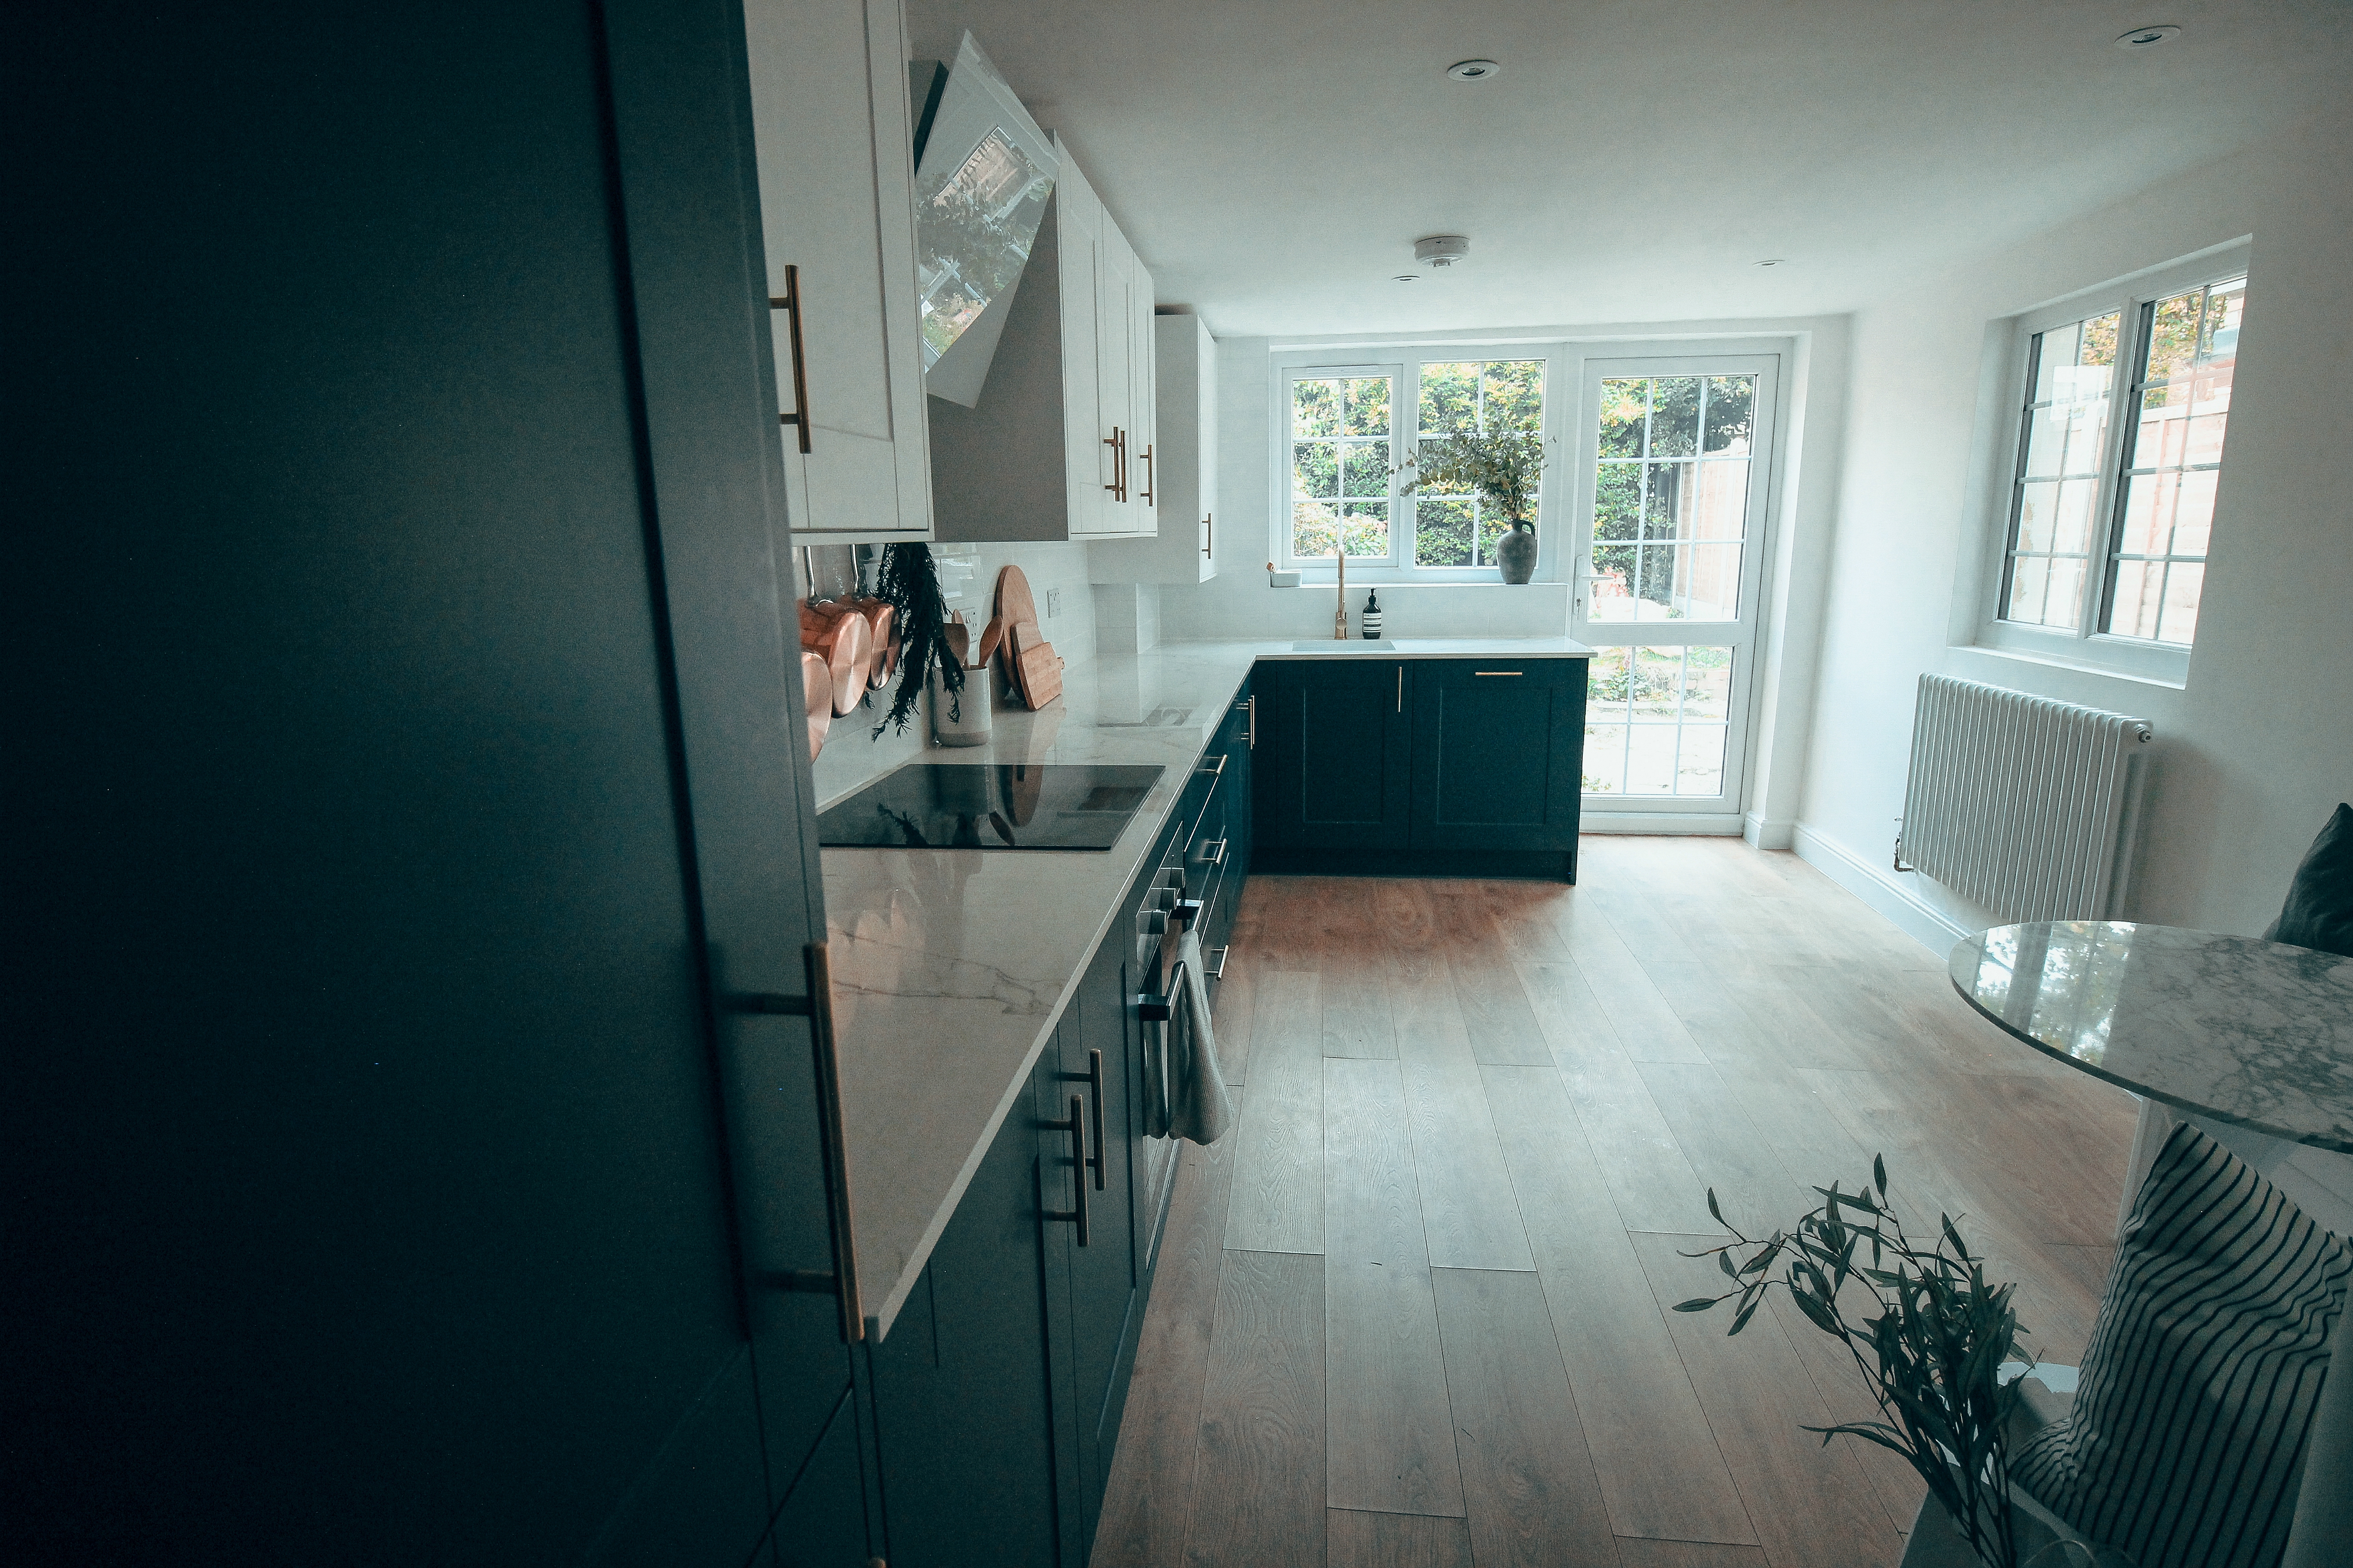
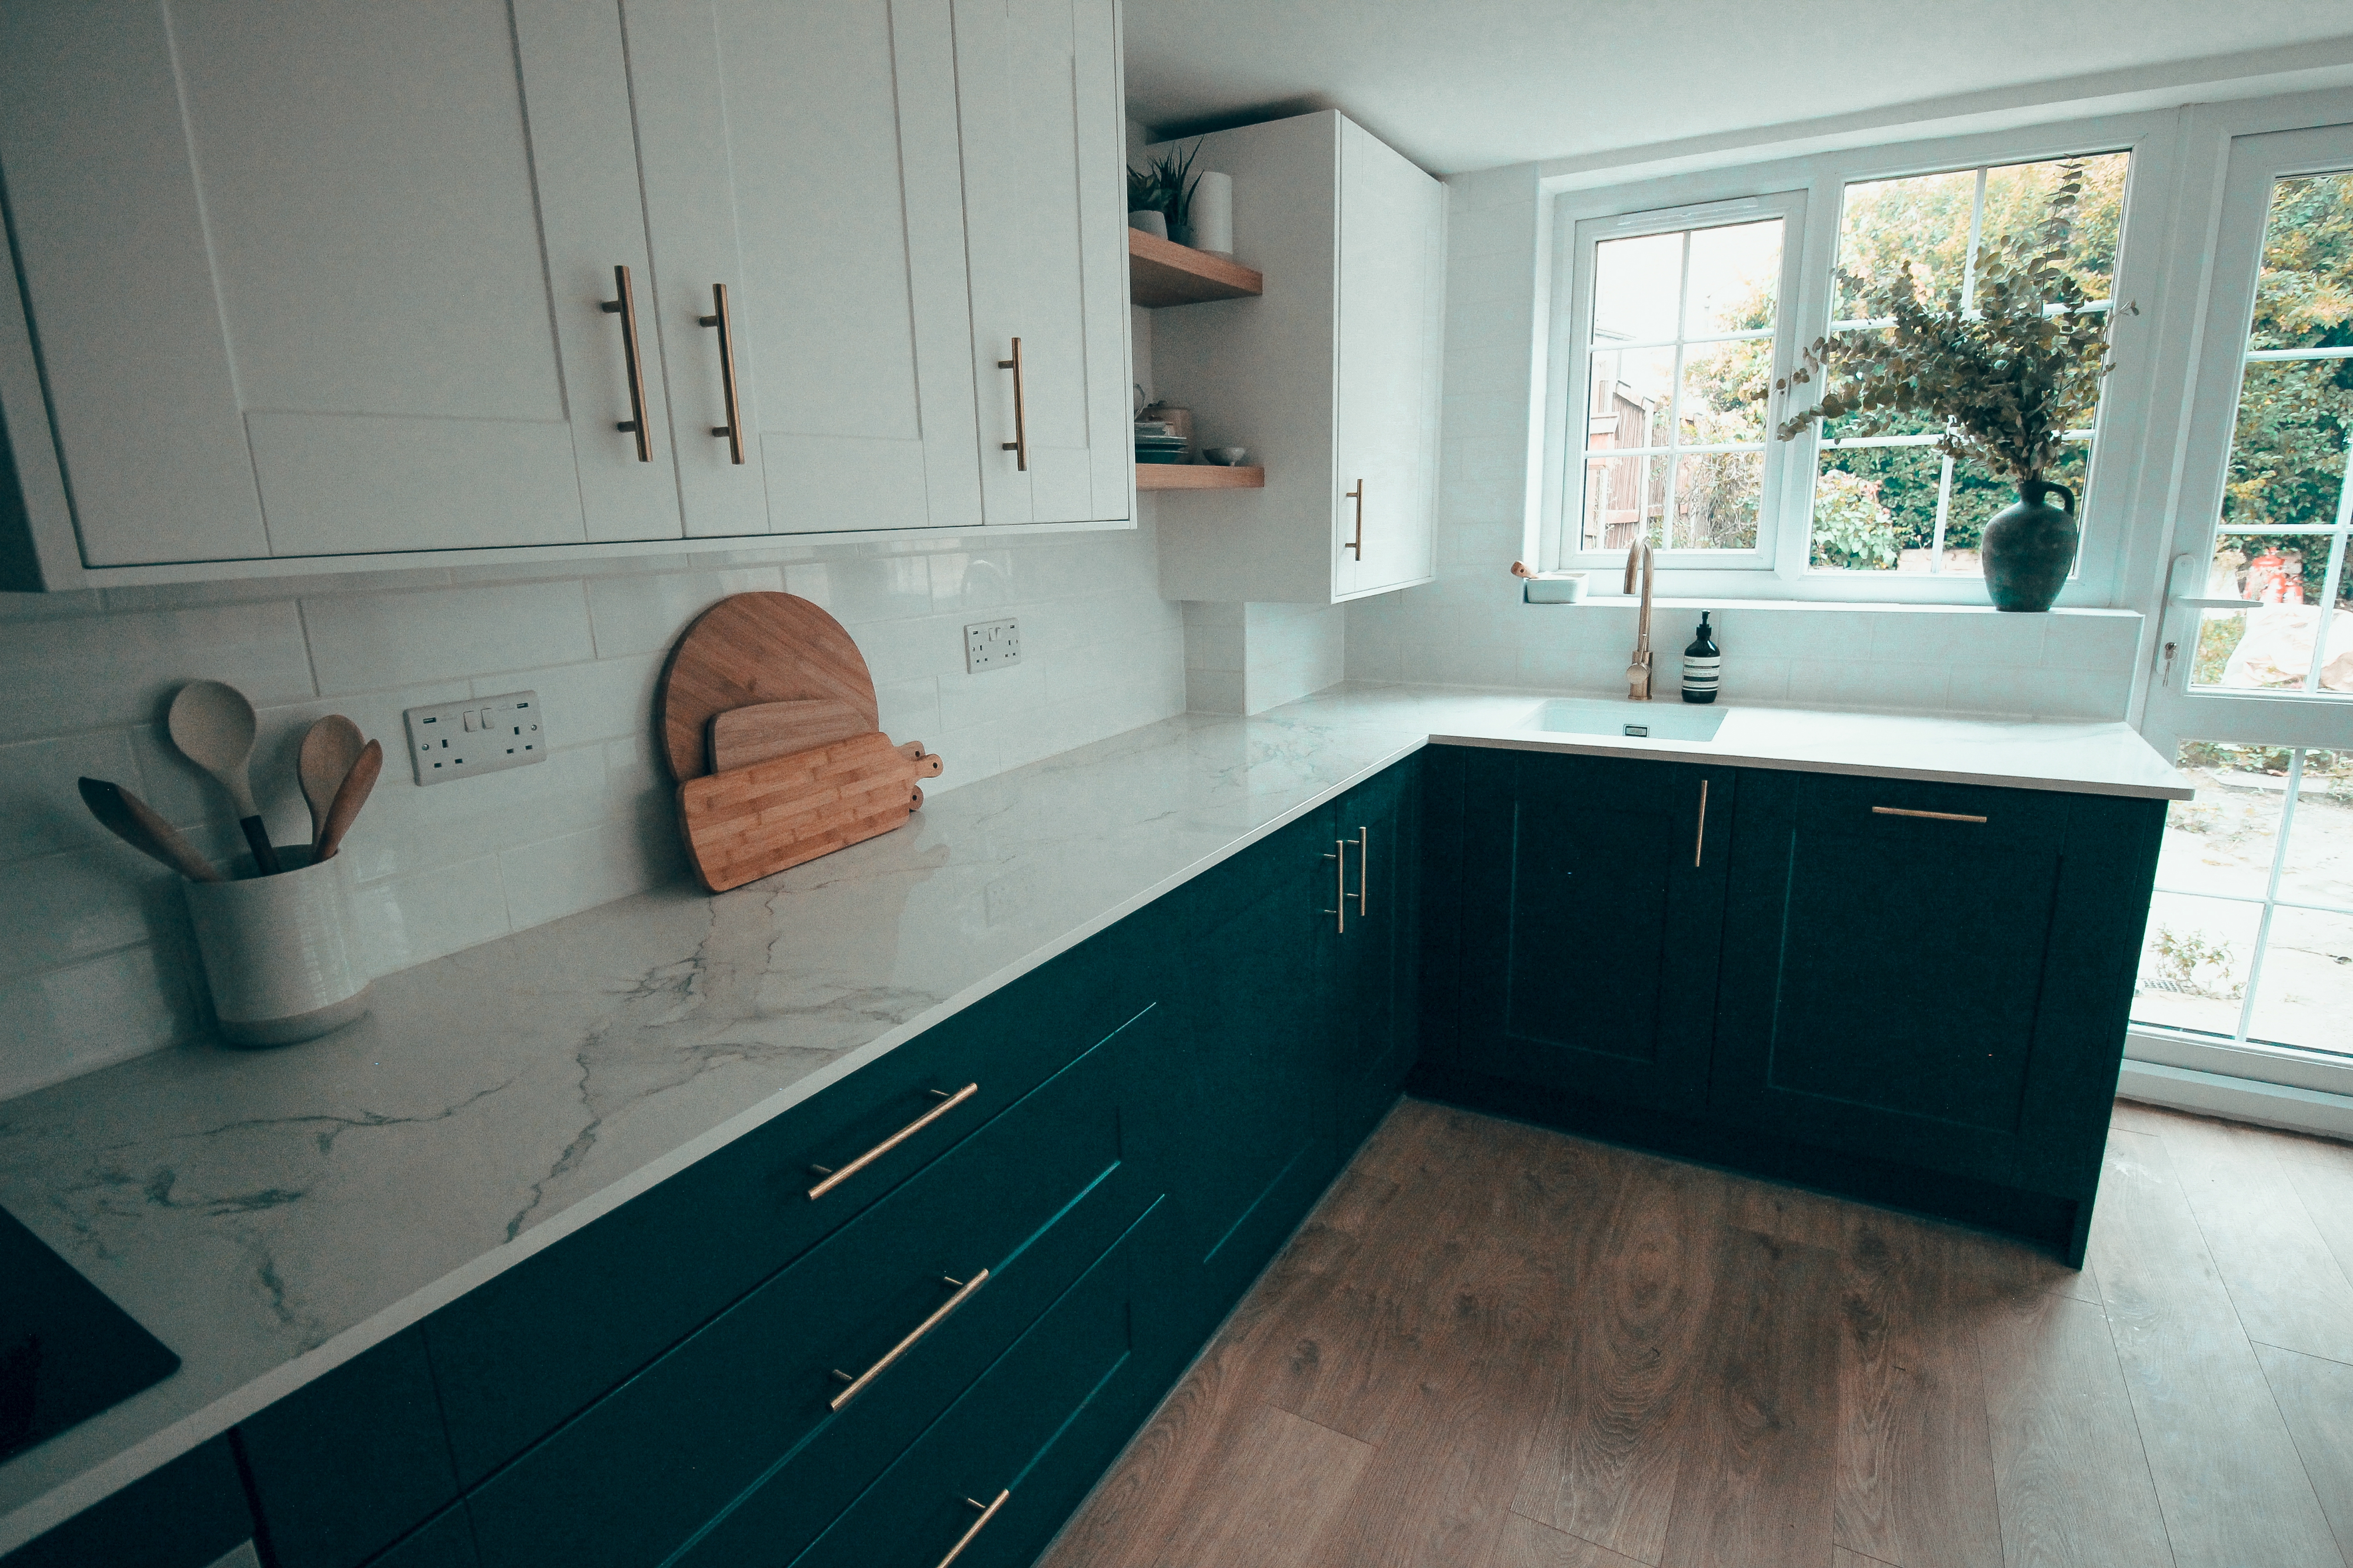
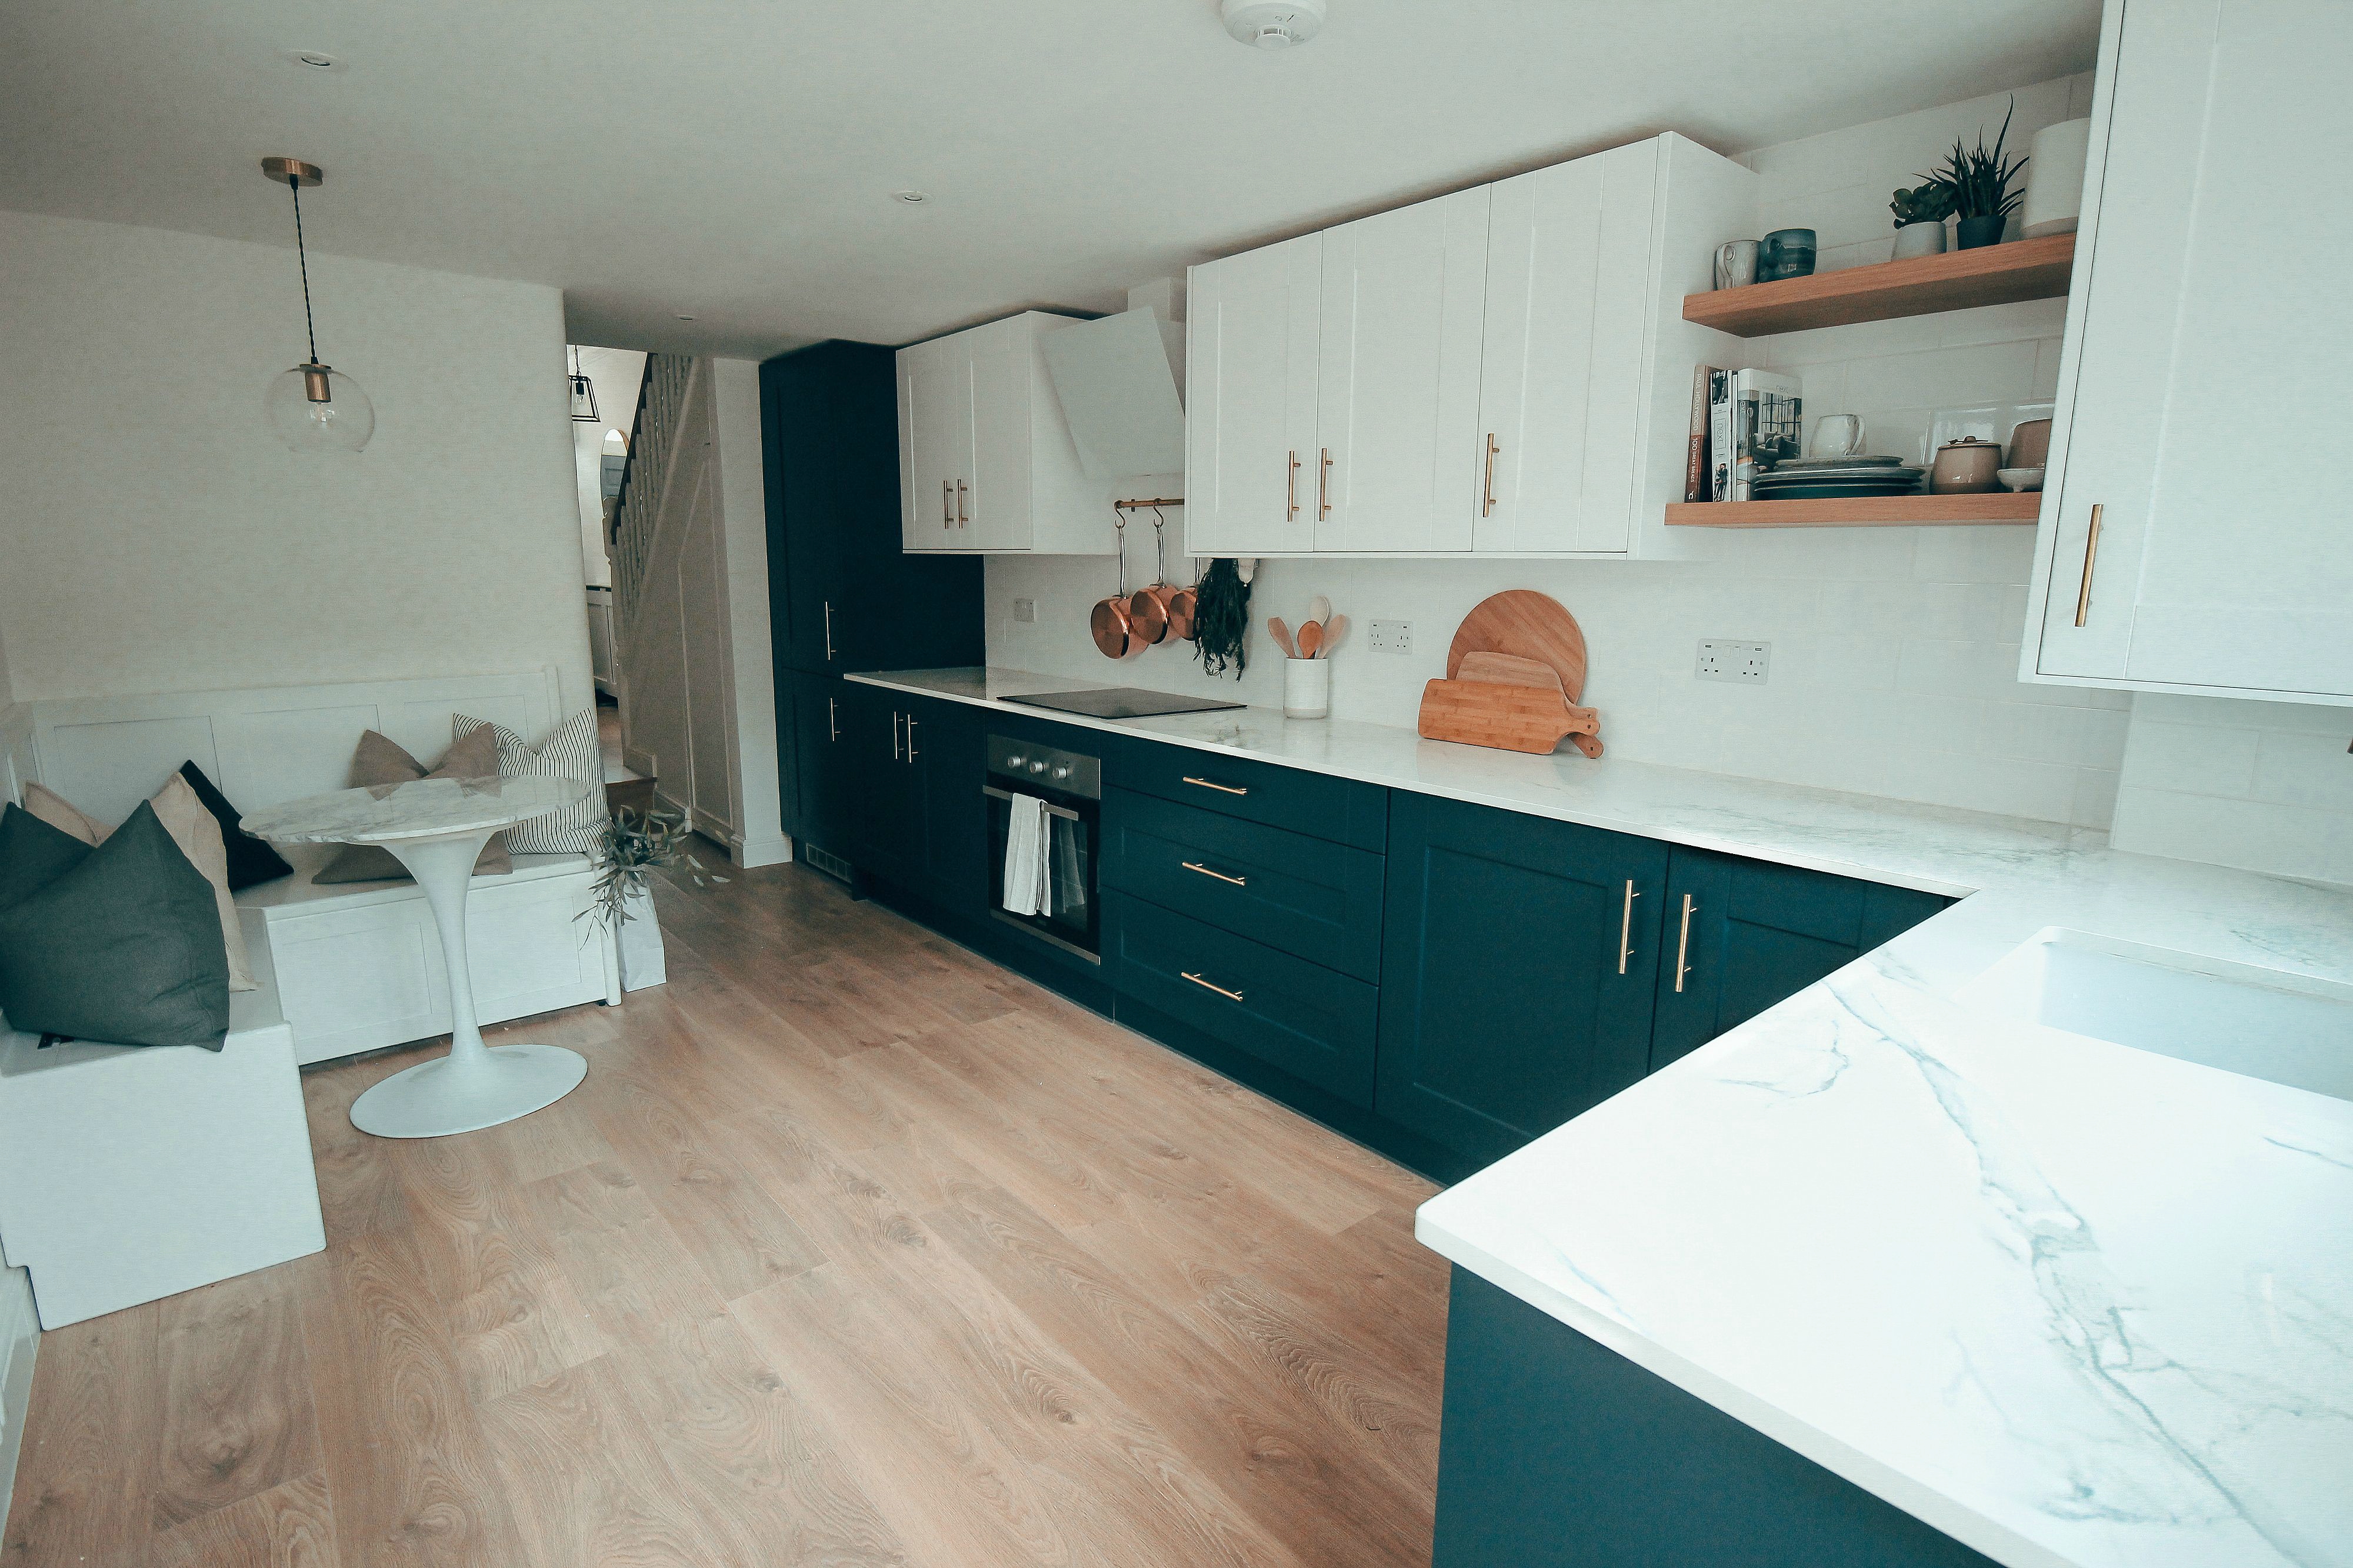
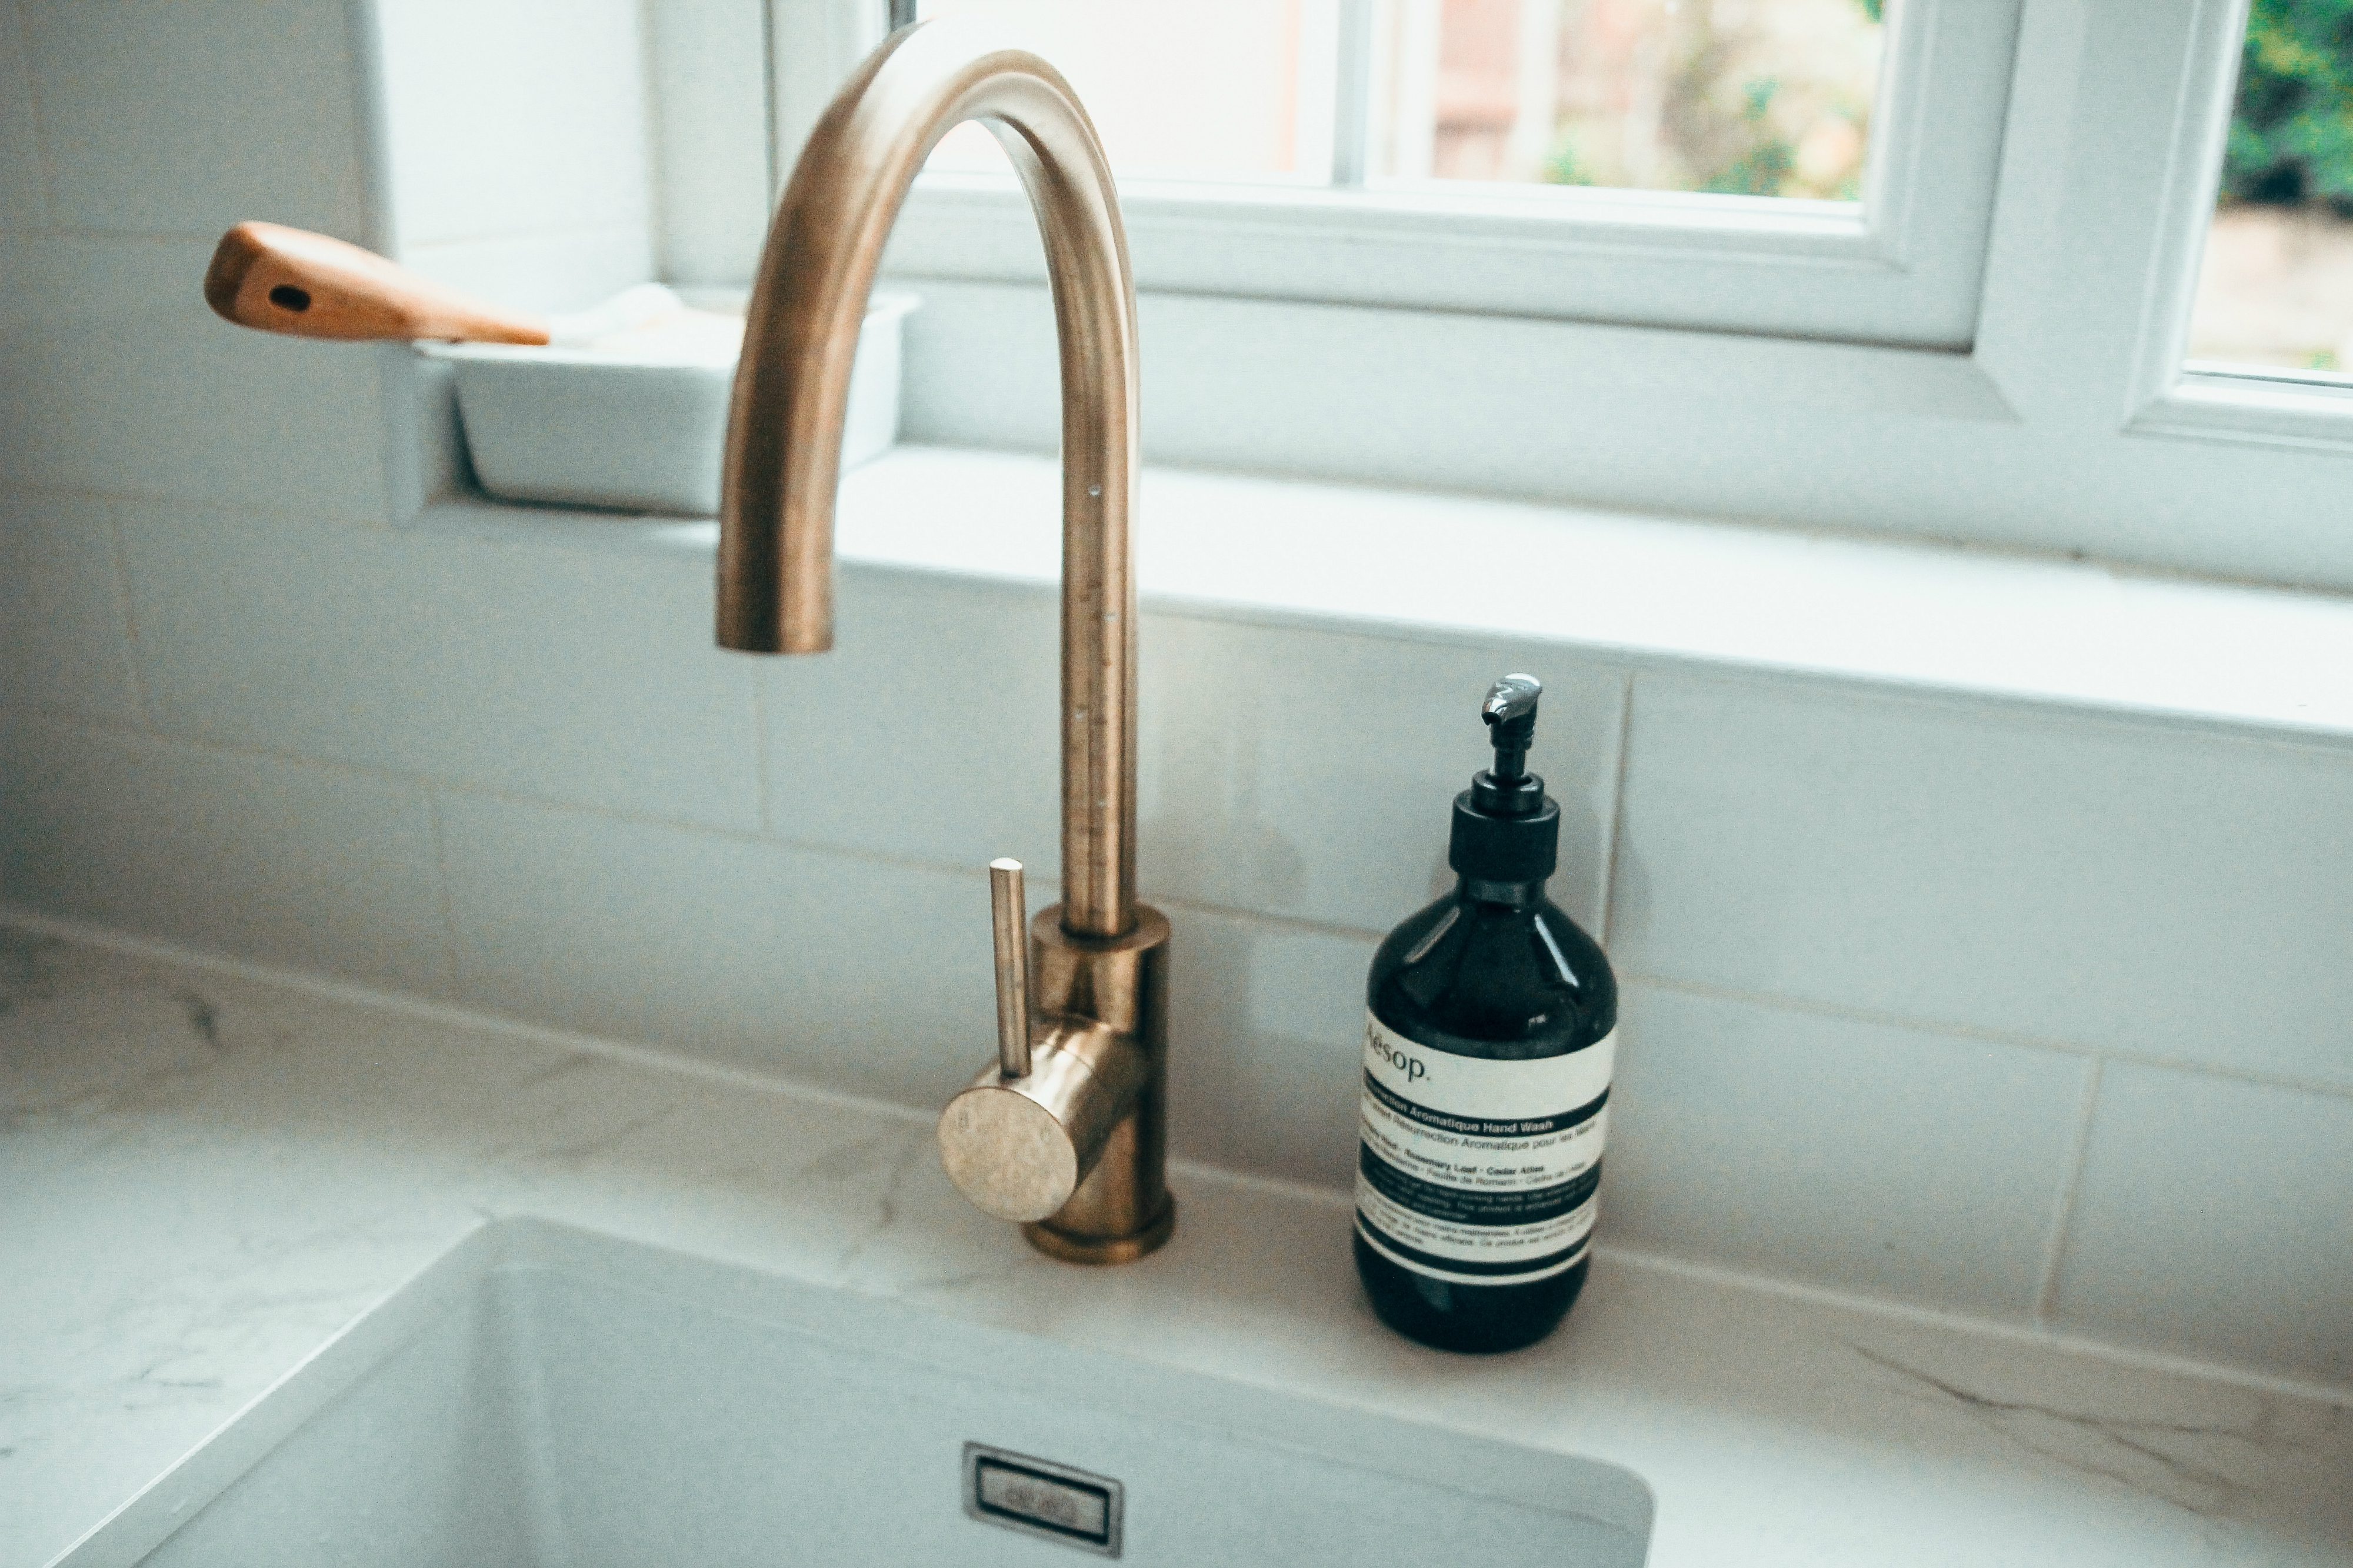
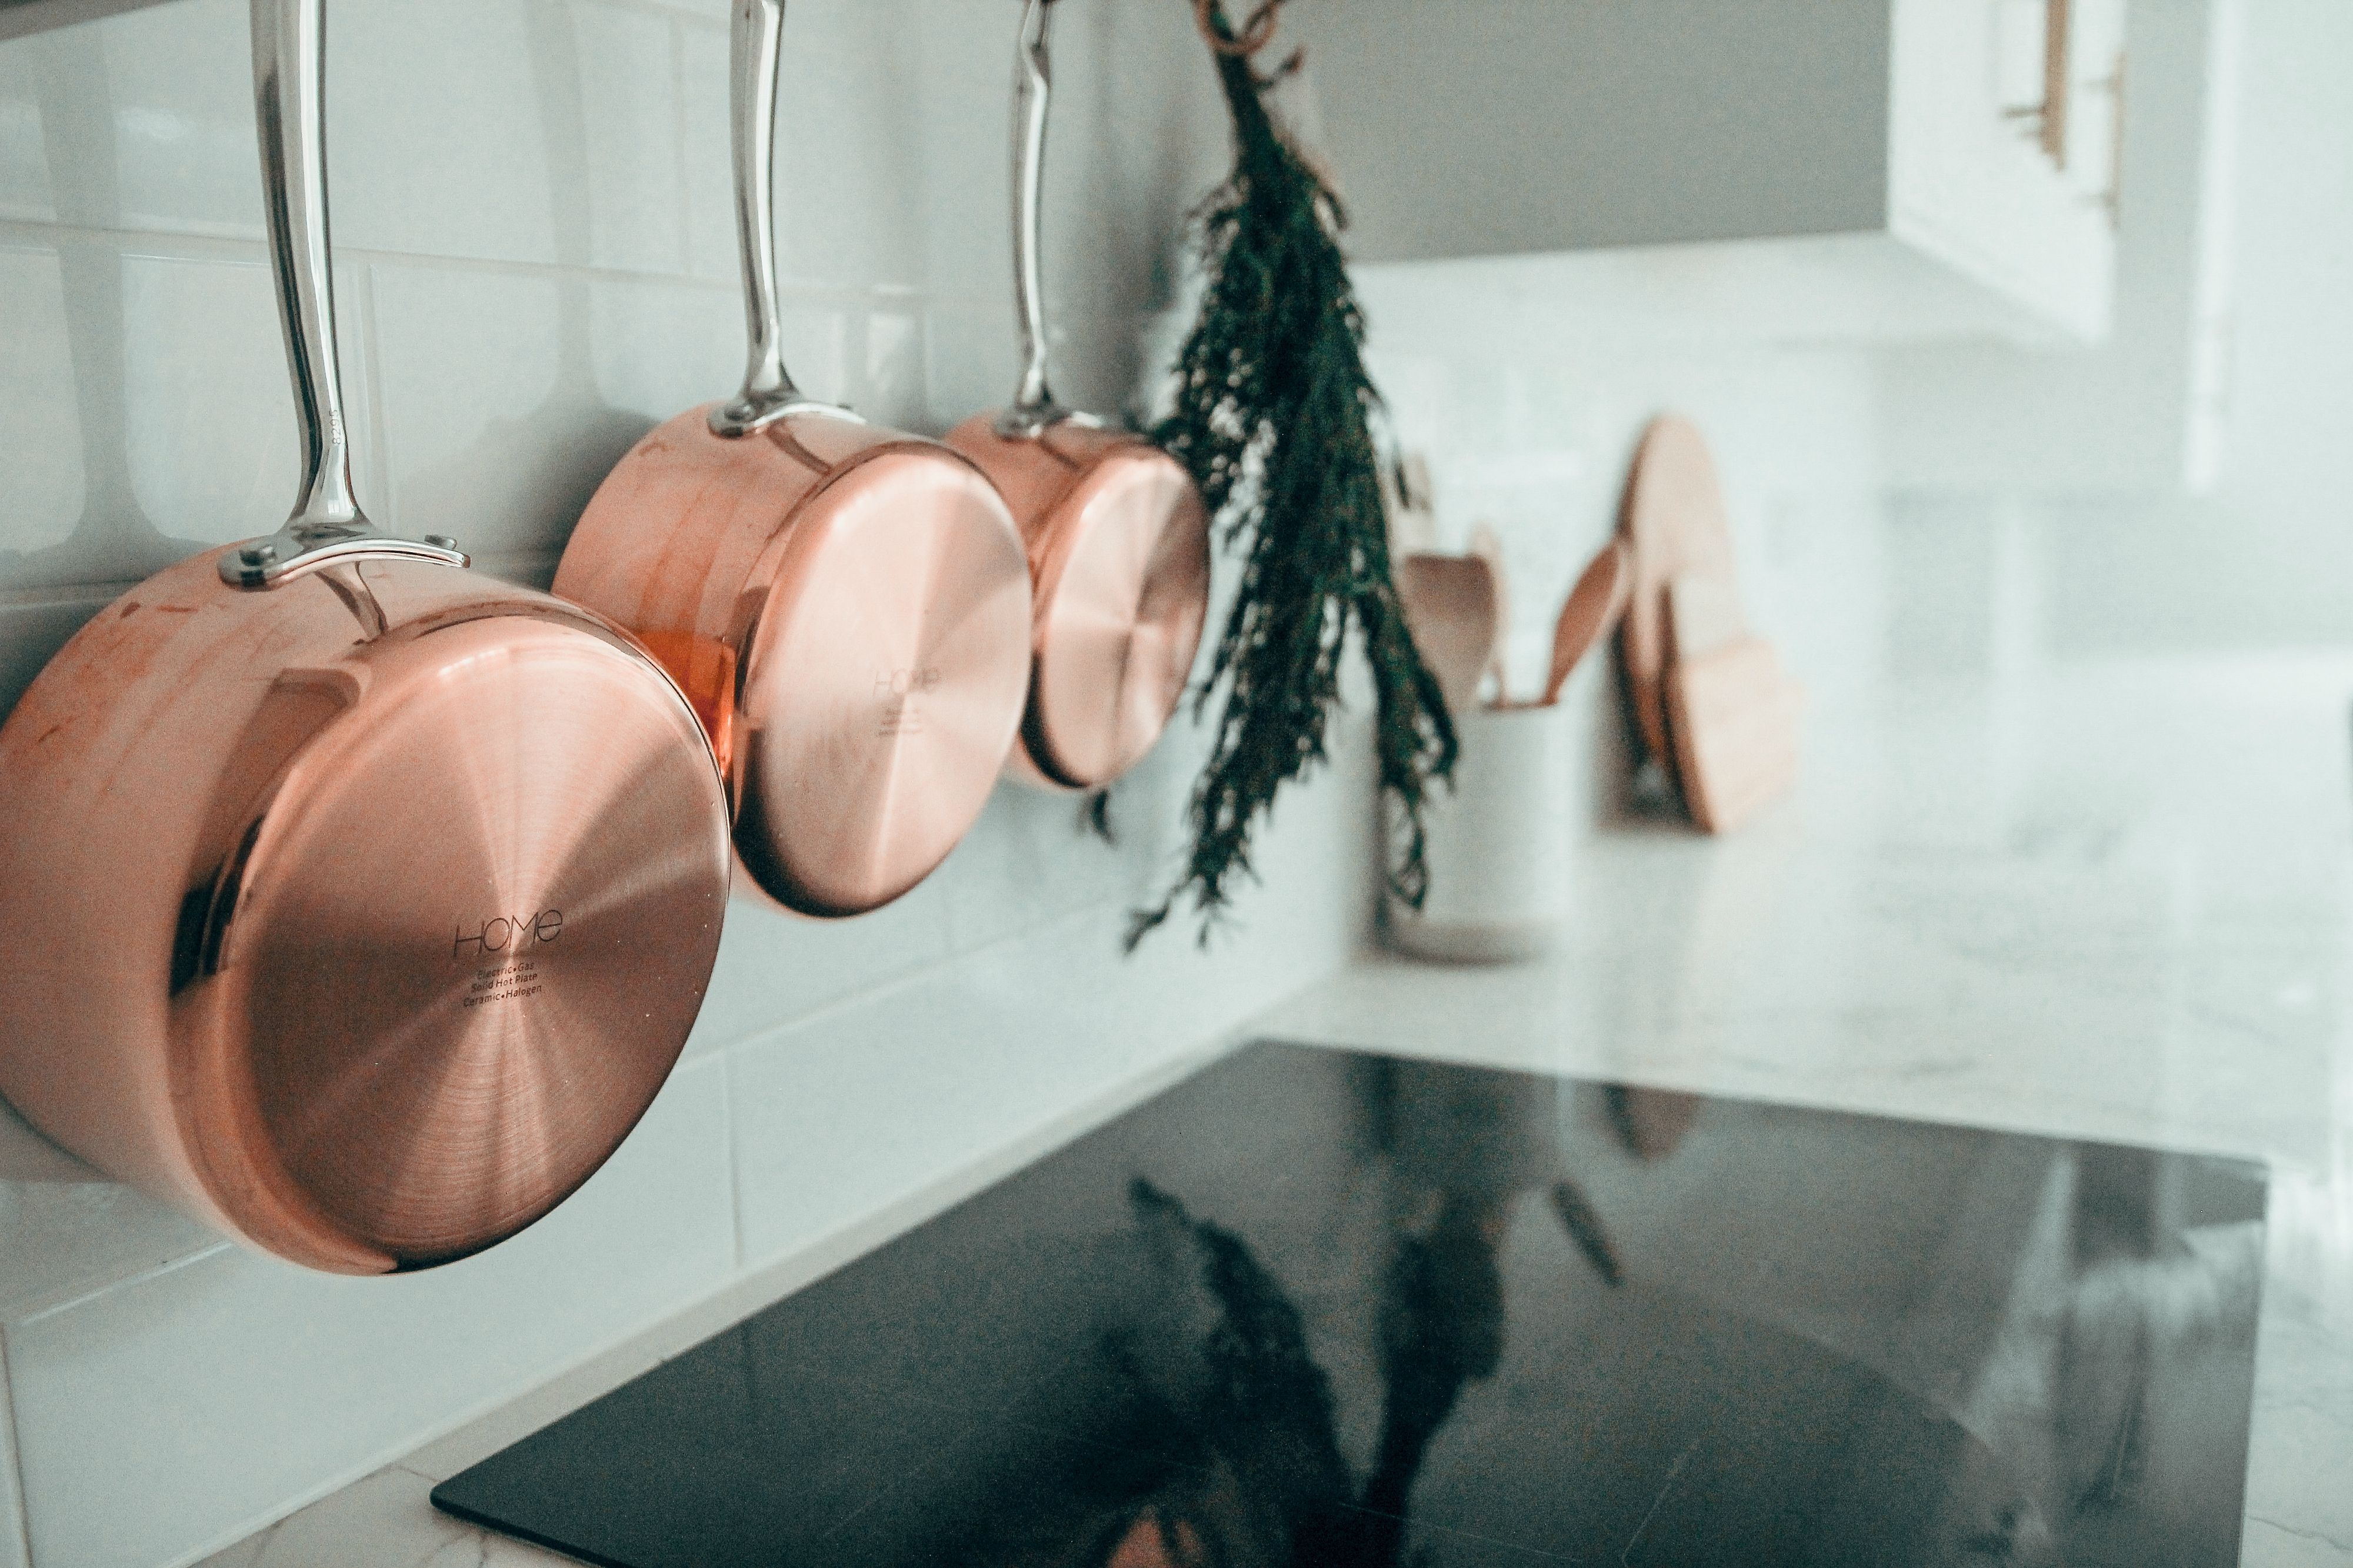
We were able to decorate and style this kitchen for really cheap, apart from that bottle of Aesop soap, which I don’t even really like the smell of, and which I definitely only bought for the aesthetic. It will be re-filled with 99p soap as soon as it runs out, trust me! The chopping boards were £7, £4, and £4 respectively from Wilko, and they are amazing, I’ve used them and washed them and there has been no chipping so far. The utensil holder was £9 from Sports Direct (random, I know!). We got a set of 10 pots and pans from Argos for only £54, and they work brilliantly. And much of our utensils, cookware and tableware are from Ikea. The cushions on the seating bench are all from Ikea too. We purchased the traditional French-look copper pots which are hanging on the brass rail from Argos, the sad thing is that we got an induction hob (as recommended by our kitchen designer), but unfortunately we had no idea that you can only use certain types of pots on there! So my beautiful copper pots have been reduced to being purely decorative pieces and not at all functional in our space. What a shame, but don’t they look beautiful!
In fact, the only expensive decorative or kitchenware item I bought in the kitchen is the brass rail. It was about £120 from DeVol Kitchens for the rail and the 5 brass hooks. I was certain that the quality of it would blow my socks off so it would be worth the splurge (I had heard great things about Devol), but I remember my distinct disappointment when it arrived and the rail was hollow, it actually felt like a roll of kitchen foil, and I could have definitely got something that looked like it for a lot cheaper. So you can absolutely get a good look on a budget!
So, would I do anything differently? Do I regret any of my choices??
I certainly did, during the renovation. It’s crazy how much you get sucked into every little detail, and it becomes the biggest, most important thing in the world. For example, I was mildly horrified at the fact that the open shelves were installed a little bit too far apart meaning that the distance between the ceiling and the top shelf is smaller than the distance between the top shelf and the bottom shelf. It was the biggest thing in my life, and I thought we had totally screwed up the kitchen so I was willing to pay loads of money to fix this “huge” problem. As it turns out, it would have been really hard, expensive and disruptive to move the shelves as they had been drilled into the cabinets either side, so we ended up leaving it as is. Which I’m so grateful for, because I literally don’t notice ANY issues with it now.
Two things that I missed during the design process were thinking about bins, and also thinking about the microwave and where it should go. The bin issue is quite easy to solve as we can get bins which can be retro-fitted into cabinets (we will probably opt for the corner cabinet as there’s a lot of unused space in there). Regarding the microwave, I’m really not a fan of countertop microwaves. I just don’t think the microwave we have would look good on display. The most obvious place would have been to get another tower unit which housed the oven and the microwave, but I think it would have made the place look too clunky and it would have reduced our countertop space quite considerably. Also, it would not have been an option because it was a fight to event get the fridge/freezer tower unit, I don’t think I could have argued my case for another tower unit in addition to it. So my husband came up with a great solution for the microwave issue, it’s actually housed in the base unit beside the fridge/freezer. It’s super accessible, easy to plug in and use when needed. And it’s not visible! Yay!
If we ever end up extending our kitchen, we would opt for a side-return kitchen extension, which makes the kitchen a couple of metres wider. We’d add an island which would house the microwave, and we’d add a dining table. But it’s unlikely that we’ll do that, because this is not our forever home, and a 3 bedroom house is already more than enough space for the two of us.
So all in all, I don’t think I have any regrets. Once the renovation is done, you don’t notice the little things that once haunted you.
Overall, I’m so glad for this experience!! When it comes to designing my dream, forever home (by the grace of God) I’ll be much more informed and know what to do and what not to do, and how to manage the process a lot better. The first lesson being that you should never live in your house while it’s being renovated. We learnt that pretty quickly!